CategoriesUncategorized

Get Your Hips Nice-n-Juicy Prior to Your Lower Body Workout

I know, I know…

…most of you reading don’t have enough eye-rolls to give.

I mean, I get it: a blog post on warming-up is about as exciting as me writing about breathing drills, how to make kale chips, or, I don’t know, NASCAR.

But two things:

1. This post will be short and sweet.

2. The video shown below will help you not only feel better, but also help you crush your next (and subsequent) lower body lifts.

I figured that would grab your attention…;o)
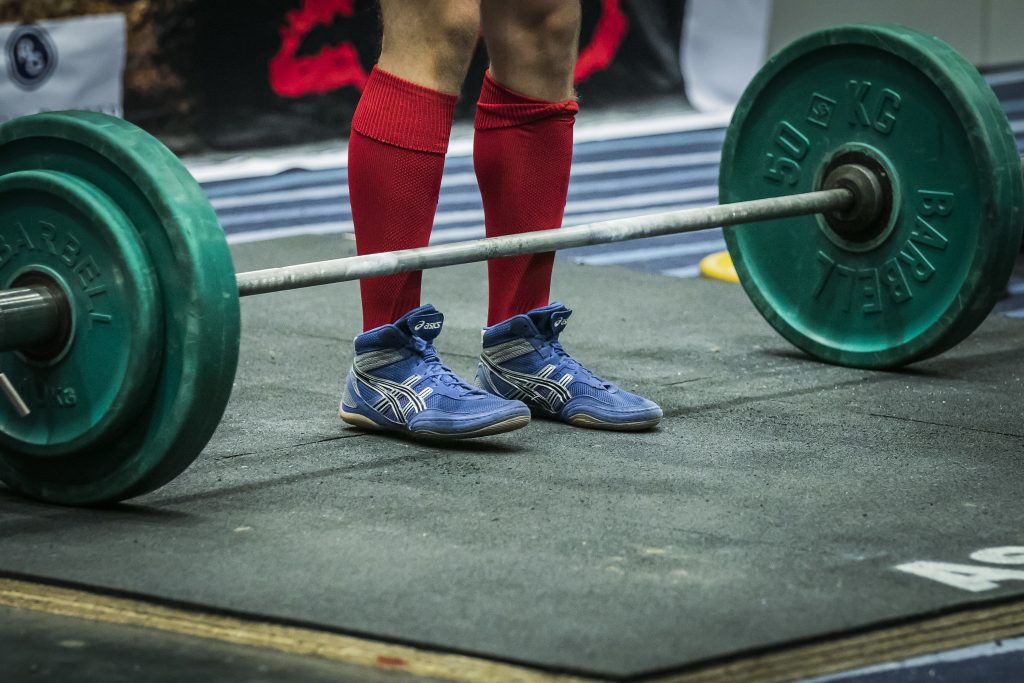
Copyright: spotpoint74 / 123RF Stock Photo

Juicy

There’s no need for me to belabor the point: a proper warm-up prior to lifting heavy things is imperative. It helps increase core temperature, potentiate the central nervous system, “lubricate” the joints, and as a whole is just a smart habit to follow to better prepare the body for the workout to follow.

Thing is…

…the warm-up is also the one thing most trainees skip, treat as the evil step-child, or otherwise ignore altogether.

I can’t fault some people for doing so.

Some warm-ups are just absurd. I’ve had some people show me warm-ups that take 20-30 minutes to complete. Now, this isn’t to say that, sometimes, this isn’t warranted. Depending on one’s injury history (or even other factors, such as age) we can sometimes justify a warm-up of that length.

But too – and more to the point – if I were given a warm-up that takes that long to complete I’d be tossing it some shade too.

That’s a whole lotta nope!

A whole lotta nope

On the flip side, I also think one reason many people skip their warm-up is because there’s no rhyme or reason to what they’re doing:

“I’ll do some arm circles here, some hip thingamajiggies there, weeeeeeeeeeeeeeeeeeeee.”

An ideal warm-up will not only prepare you for the stuff you’ll be doing on the weight-room floor, but also address any mobility/range of motion/activation deficits that may exist.

And, lately, my train of thought is that an ideal warm-up is short and to the point and kinda-sorta makes you hate life.

A perfect example is this hip series[footnote]Giving credit where it’s due this drill is inspired in equal parts from the likes of coaches Vernon Griffith, Frank Duffy, Julia Eyre, and Optimus Prime.[/footnote]. I’ve been using myself of late and is something covered in the (Even More) Complete Shoulder & Hip Blueprint a brand new product with entirely new content Dean Somerset and I just released this week.


This series hits all the heavy hitters to keep your hips nice-n-juicy for some squats or deadlifts:

✅Hip IR
✅Hip ER
✅Hip Flexion
✅Dissociating hip movement from Lower Back movement.

Start with your hands on the floor for support and try to stay as upright as possible (contingent on your ability to do so).

It’s not a deal breaker if you have to lean to the side a bit.

You also have the option to “ramp” up the intensity while performing this series too. You can go through the motions and make it relatively easy or you can come close to shitting a kettlebell by increasing the amount of tension you put into it.

I encourage clients to dabble in both (because both scenarios have their advantages and disadvantages).

Have fun (<– said with a hint of sarcasm).

(Even More) Complete Shoulder & Hip Blueprint is currently on sale this week till this Sunday for $70 off the regular price, and digs into preparation concepts like this, plus so much more to help you get the best possible plan of action for your clients in order to get them results in the fastest, easiest and safest manner possible.

—> Click here for more info and to grab your copy today <—

CategoriesUncategorized

Exercises You Should Be Doing: Kneeling Overhead Press to Standing

Quick Update:  1. I want to first thank everyone who chimed in on yesterday’s post (as well as sent me personal emails) offering their advice this whole car buying process I’m going through. I’m not one for confrontation, so the whole idea of walking into a car dealership to negotiate a price makes me a bit skittish.

It’s funny:  ask me to deadlift 500+ lbs, I won’t bat an eye. I’ll crush, and then some.  Ask me to sit down with a salesmen and negotiate paint trim, I’ll start hyperventilating into a brown paper bag.

Anyways, to make this short – because I know people don’t visit this site to listen to me talk about buying a car – after several people suggested I do so, I logged onto FightingChance.com and decided to ask for their help during this process.  Outside of actually handing me a Lightsaber, these guys are going to arm me with all tools I’ll need to get the right price for the car I’m looking for.  Thanks again everyone!

2. As many of you know, I’ve been banged up as of late dealing with some lower back issues, and it’s only been within the past few weeks that I’ve been able to train with any ounce of intensity.  My Canadien half-brother, Dean Somerset, has been helping me out with some programming the past few weeks, and I couldn’t be happier with my progress.

A few weeks ago sucking my thumb would make me wince.  Yesterday I was able able to work up to a 315 lb deadlift with an additional 150 lbs of chain weight for sets of five.

Holla!

While I still have a ways to go, I just want to send a huge debt of gratitude towards Dean and to note to everyone reading that, more often than not, it’s about what you NEED to do and not necessarily what you WANT to do that’s going to get you better.

Which is as good of a time as any to discuss today’s exercise you should be doing:

Kneeling Overhead Press to Standing

Who Did I Steal It From:  Dean.

What Does It Do:  the question should really be:  what DOESN’T it work?

For me this exercise is challenging because I don’t have great active t-spine extension, which wreaks havoc down the kinetic chain – especially as it relates to hip extension and not compensating with HYPERextension.

In this case I’m able to work on my t-spine extension (going overhead) while trying my best to control my lumbo-pelvic-hip area so as to not compensate with any shimmying, shaking, or lateral shifting from side to side.

Digging a little deeper, we can see a other benefits as well:

1. There’s a definite anti-extension/anti-lateral flexion component for the core.

2. Obviously we’re working some overhead pressing into the mix (while I keep me arms extended throughout, you could just as easily “tweak” the exercise to press in the kneeling position on every repetition).

3. Assuming one is “packing” their shoulders appropriately (not shrugging), this is a fantastic exercise to work scapular stability.

4. In addition, there’s a significant hip stability (and mobility for that matter) component compounded with a fairly challenging single leg strengthening component as well.

Key Coaching Cues:  I’m telling you right now this exercise is humbling, so don’t go playing a hero and think you’re going to be crushing this exercise with 50 lb DBs over your head.  If you do, you suck, and really hate you.

Start conservative – say, 10-20 lb DBs – and be sure to “set” your scapulae so that you’re not actively pressing the weight throughout the entire movement.  Too, it’s IMPERATIVE that you DO NOT compensate with any lateral shifting or hyperextending of the hips/pelvis in any way.  Tighten your core – or brace (whatever term works for you) – and try to stay as stiff as possible throughout the duration of the set.

In particular, on the descent, try not to allow your butt to stick out as you go back into the kneeling position.  This is going to be a real challenge for many reading – so again, start conservative with the weight!

I’ve been implementing this exercise into a lot of my own client’s programs, and I prefer to  perform these for sets of 3-5 reps/per side, with a 30s-60s rest in between left and right sides, possibly even pairing this with another exercise in such a way:

– 5 reps on the RIGHT leg.

– 8-10 push-ups (grip is going to be a factor here, so if you’re going to pair this exercise with something, you’re best to use an exercise that won’t require a lot of grip).

– 5 reps on the LEFT leg.

And there you go.  Try it out today, and let me know what you think!

CategoriesUncategorized

Exercises You Should Be Doing: Lateral Sled Drags

Going to keep this one brief today, because………..

I’m going on vacation. 

Well, that, and my girlfriend is going to kill me when she calls me in a few minutes to check in and realizes I have yet to pack even though our plane leaves in like four hours.  But, really, all I need to do is throw some shorts, sandles, and sunscreen into my bag and I’m good to go.  I travel light.

And, while I won’t actually be on a boat; where I’m going (Florida), I’ll definitely see one – so this video is dedicated to everyone who won’t be going with me.

Okay, so, today’s exercise is one that I feel gives trainees a lot for their training buck.  In addition, assuming you train at a gyn that doesn’t suck (Read:  has a sled) you should be able to implement this one into your programming right away.  If you pay $10 per month to workout at Planet Fitness, sorry – you’re out of luck. 

What Is It:  Lateral Sled Drags

What Does It Do:  The obvious advantage to this exercise is the fact that it trains lateral movement.  Generally speaking, we’re a very linear society, so this exercise provides a nice change of pace and allows us to train single leg strength – albeit in a more lateral fashion, which changes things dramatically.

What’s more, there’s also a huge hip internal/external rotation component, as well as grip strength, conditionng, and overall badassnesses.  Seriosuly, this is a waaaaaay cooler than puttering around on an elliptical machine.

Key Coaching Cues:  Frist off, you want to make sure you grip the handle has hard as you can, which in turn (through a process called irradiation) will force the rotator cuff to fire and pack the shoulder back (providing more stability to the joint.  If you’re not careful, you can really crank on your shoulder and piss it off – so grip tha handle HARD!

Too, you want to think about staying low and stepping across the midline of your body, “pushing” yourself away from the floor.  Effectively, you want to drive yourself away from the floor, not just “side shuffle” across like Goldilocks.

You can either go for a set distance or a certain # of repeitions per leg.  Just make sure that you face the same direction in both directions so you train both legs equally.

Okay, I’m out.  I’ll be updating the blog while I’m away, but probably won’t be participating too much.  Toodles!