My son, Julian, was born January 31, 2017.
Four days later my wife, Lisa, accompanied me to the gym.
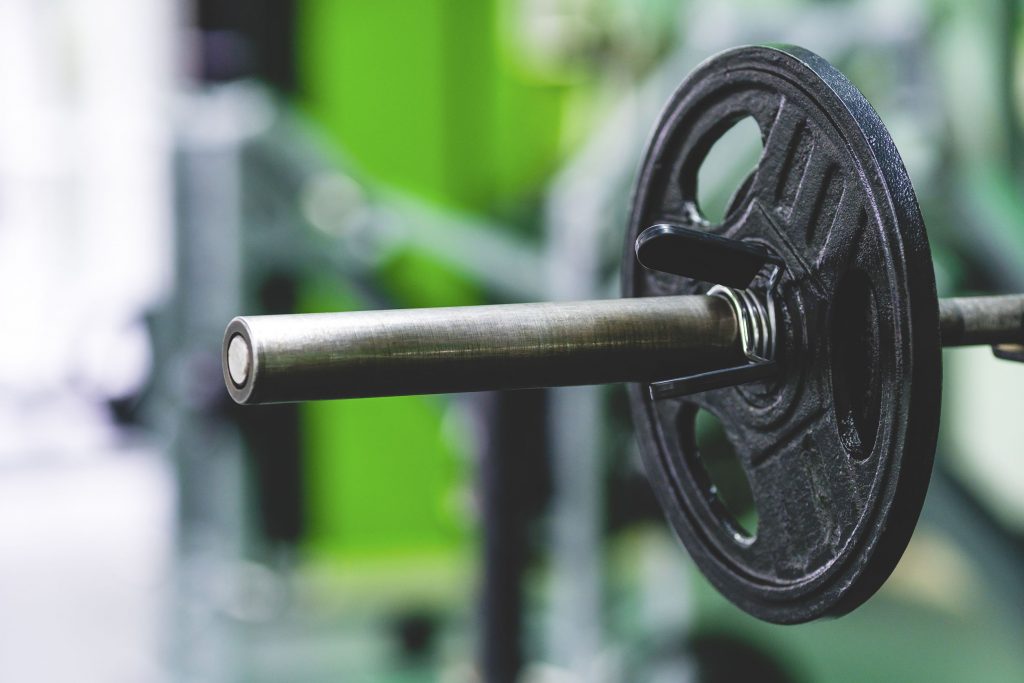
The workout wasn’t anything crazy. There were no burpees, no deadlifts, no squats; hell I don’t even think there was a barbell involved.
If anything, the field trip served as more of a rendezvous back to normalcy for us.
Our world had just been knocked the fuck upside down during the previous 96 hours, and, after the shellacking we had been taking, a lifetime in Azkaban would have seemed a better alternative.
So yeah, heading to the gym, even for 20 minutes, was exactly what we (she) needed.
It was an oasis for us.
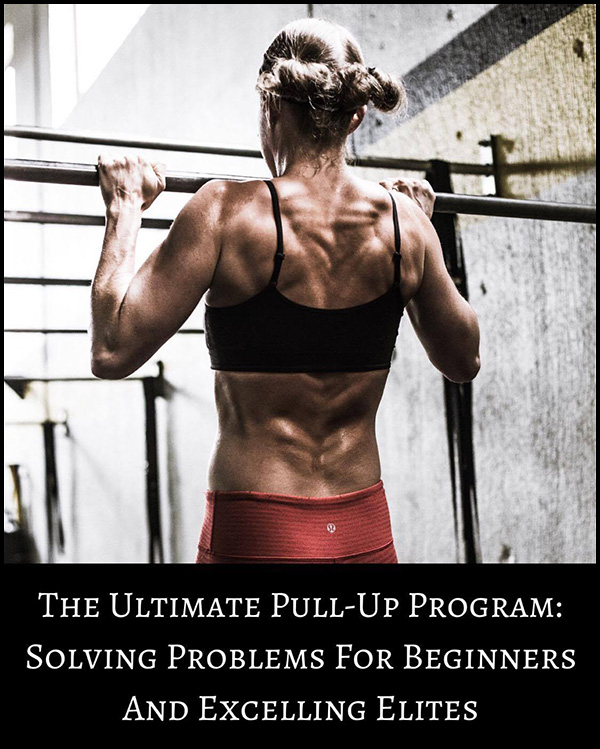
That Time the Internet Got All Judgy On Us
Lisa’s first postpartum workout, if you want to call it a workout, wasn’t anything to write home about. I think I had her do some deadbugs, side planks, a few Pallof Presses, bodyweight step-ups, and, yeah, okay, there was a barbell involved…
…she did some light bicep curls.
To her credit Lisa trained all throughout her pregnancy.
While no where near the same intensity she was accustomed to, she deadlifted, swung kettlebells, performed hip thrusts, and even used natural progressive overload (her growing tummy) to crank out her chin-ups.
View this post on Instagram
At the same time, she remained cognizant it was imperative she listen to her body. If at any point something felt off or “wonky” she stopped and we made the appropriate adjustments.
I wholeheartedly believe that it was her dedication and diligence to strength train throughout her pregnancy which resulted in a smooth and seamless birth.1
NOTE: For a more detailed article expounding my approach and thought processes on the topic of women and strength training through pregnancy go HERE.
Fast forward several weeks and I posted this video on my Instagram page of Lisa hitting a bench press personal record:
During her maternity leave we took advantage of having more time to workout together, and I was proud of her for staying proactive during this time.
She listened to her doctor, she listened to her body, and she was able to regain (some) of her pre-baby strength levels rather quickly (in no small part because she stayed consistent with it during her pregnancy).
I say “some” because we made it a point of not pushing the envelope with other movements such as deadlifts and squats.
Nevertheless, there was a woman who chimed in with her own concerned, if not bordering on scathing remarks and comments on the matter.
“It takes a lot longer than 2-3 weeks to retrain the postnatal core! And wouldn’t she still be bleeding at this stage? That’s an open wound that needs time to heal/ and she needs lots of rest to repair her DRA and PFM tissues, especially if there’s additional birth trauma. I would get her to see a women’s health physio or pelvic PT first, if you care about her recovery. What postnatal courses have you done?”
Oh-no-she-didn’t.
It was all I could not to go into an all-out Beyonce “Lemonade’esque” rage.
“I DON’T CARE ABOUT HER RECOVERY?” – grabs baseball bat.
“WHO SAID ANYTHING ABOUT 2-3 WEEKS?!” – smashes windshield.
But I didn’t do that.
In the woman’s defense what she (probably) read and saw was some meathead bragging about his wife hitting a heavy bench press a few weeks postpartum.
How could she have known that in the weeks leading up to that Lisa had also been performing a plethora of diaphragmatic/positional breathing drills, deadbugs, birddogs, carries, hip stability drills, and many other exercises that don’t equate to near the engagement on social media as a bench press?
#mostboringexerciseever
#actuallymaybethisismoreboring…zzzzzzzzzzzz
I kindly reiterated that Lisa was cleared by her doctor, that she had been taking things slow up until that point, had been using appropriate progressions, and that she had a pretty smart strength coach (and the world’s #23rd ranked tickle fighter) in her corner writing her programs.
The same woman also stated:
“There’s nothing badass about being a victim to the social pressure to get your body back, it’s stupid really.”
Given no one ever came close to mentioning anything about social pressure or being a victim, at the time, I didn’t have much of a response. She was likely projecting based of experiences in her past, and I chose to ignore it.2
I mean, my wife’s been lifting weights since she was 13 years old, it’s part of her DNA. What’s more, we were engaged in an activity we enjoyed doing together (working out), and she really loves benching, why should I have to defend that?
However, upon further reflection I could see where this woman was/is coming from.
Don’t get me wrong: I still feel there was an exorbitant and egregious amount of “assuming” on this woman’s end.
Like, who in the flying fucks of fucks was she to assume we didn’t take all the precautions in the world? But, deep breaths Tony, I could see how my initial post may have been triggering and come across as a bit too braggadocious.
Moreover, I can see how the message could have been misconstrued.
As oxymoronic as it sounds (and this is likely why this particular woman called me out), women that exercise through their pregnancy are often at MORE risk for postpartum issues. Many feel pressure to head to the gym as soon as possible after giving birth because they actually feel “okay.”
To be clear: This was not the case with my wife. It had everything to do with not wanting to throw an ax into her face from cabin fever.
However, this mentality can often lead to dire circumstances because their body is still healing. Just because someone may want to perform kipping pull-ups paired with sandbag carries through a grenade field for AMRAP doesn’t mean you should.
You CAN still exercise postpartum, but it’s important, nay, crucial, to respect the notion that your body still needs time to “catch up.”
I guess maybe I should have said that from the get go when I originally posted that video of Lisa bench pressing.
That said, it was something the woman said in her initial comment to me that really struck a chord:
“What postnatal courses have you done?
Shit.
None.
Now, I’m not an idiot.
I understand, to the best of my Y chromosome having abilities, the intricacies that coincide with helping a woman train through her pregnancy, as well as how delicate matters are in the months postpartum.
The first few months are all about rebuilding the base (specifically to address the pelvic floor and diaphragm, to get the “core” connected, working, and to progress from there).
After that, a person’s capabilities and foundation matter more than whatever time frame it takes to get them deadlifting appreciable weight again.
As far as the BIG no-no’s to avoid immediately postpartum:
- Plyometrics – burpees (please, stop), jumping, stairs, and running.
- Anything coming close to max-effort loading.
- Front abdominal exercises (planks, sit-ups, push-ups, leg lifts, or anything that makes the abdominals bulge anteriorly or uses the core to support a lot of bodyweight).
- FWIW: Any sort of Fight Club is out of the question during this time as well.
I’m also aware that the postpartum “phase” doesn’t just refer to weeks or even months. Women can present with postpartum issues years after the fact, and it’s imperative to respect that and know how to assess and program accordingly.
But, to go back to the woman’s comment (what postnatal course have you taken?) that was a massive mea culpa.
I had taken none.
She got me there.
At that point I felt it was my responsibility to remedy the situation.
And that’s what I did (and am still doing).
Pregnancy & Postpartum Corrective Exercise Specialist 2.0
In recent years whenever I am asked by other health/fitness professionals what course I’d recommend they look into my immediate answer is Dr. Sarah Duvall’s PCES course.
It’s without hesitation the most valuable continuing education resource I’ve come across in the past four years, and it’s also had the most impact on my own coaching.
Every pregnancy is different.
Every woman who is postpartum is different.
There are a LOT of women out there and you WILL undoubtedly need to know this information and know how to apply it.
As it happens, Sarah just revamped the entire course: PCES 2.0
- 34 hours of content loaded with a tsunami of lectures, videos, and case studies.
- CEUs available
- Save $150 off the regular price through Wednesday (2/24). Access to the course CLOSES on March 5th.
- FYI: Payment plans available.

This course will teach and show you the appropriate assessments/screens to use as well as the corrective strategies to implement to address everything from pelvic floor dysfunction to incontinence to rectus diastasis. In addition, and this is what I dig the most about Sarah’s approach, is that strength training can and should be a part of the process.
Remember: You only have till midnight on 2/24 to SAVE $150 and access to the course shuts down on 3/5.