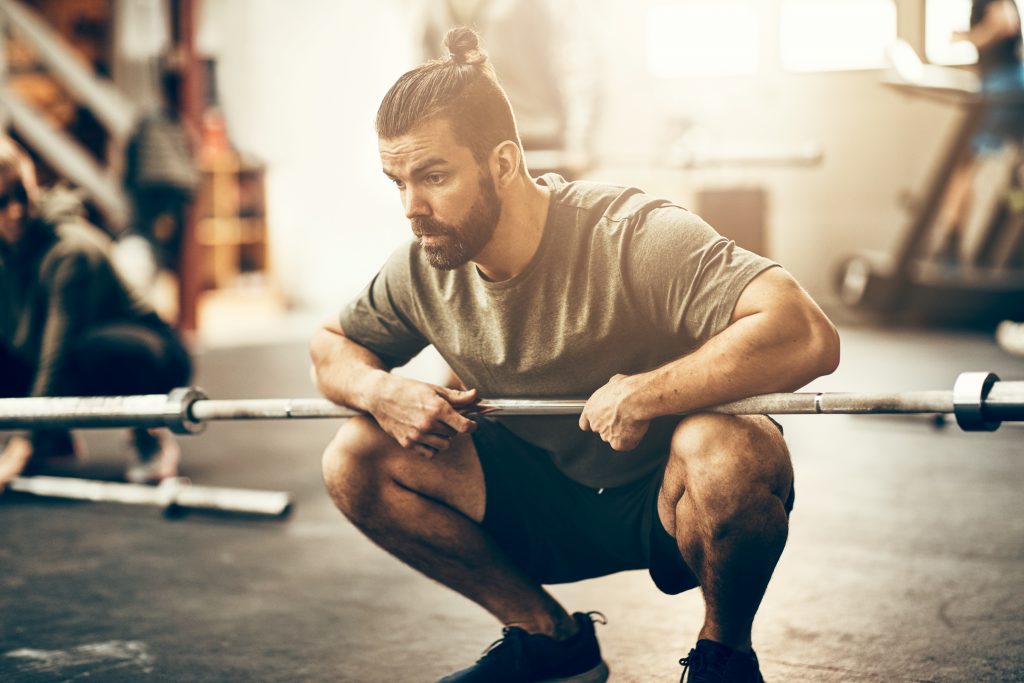
I’ve been a fan of the Landmine going all the way back to the early years of Cressey Sports Performance when we started to implement it into our clients’ and athletes’ programs.
Now, I’m not going to sit here and say the Landmine is the end-all-be-all panacea of fitness and performance. I like it and use it (often). But it’s not like it’s going to cut your 40 time by 0.7 seconds, add 50 lbs to your deadlift in a week, make it so that your pecs can cut diamonds, or give you the power of invisibility.1
Having said that, there are many reasons why I dig it.
Here’s a few…
Landmine Training and Why I Think It’s the Shit (Sorry, Non-PG Title Goes Here)
1. User Friendliness
I remember having a conversation with my friend Ben Bruno a few months after he left Boston to start training people out west in LA.
I often say that people in Boston, and in the east coast in general, tend to be a bit grittier. We live in miserable weather 50% of the year, we tend to swear like sailors more often, the weather sucks balls, and too, from a training standpoint, east coast peeps tend to be a bit more “strength” oriented.
Did I mention the weather is abysmal? Just in case I wasn’t crystal clear…it’s crap.
Now, this isn’t to say that people on the west coast aren’t strong or are adverse to getting strong. Rather, it’s just to say that when you live in 75-80 degree weather year round you tend to be more concerned with sustaining a six-pack than a 2-3x bodyweight deadlift.

via GIPHY
Ben, to his credit, after having coached at Mike Boyle Strength & Conditioning for several years, wanted to take his strength oriented mindset to LA, but he soon learned that that wasn’t going to fly and that he’d need to re-frame or pivot his approach in order to succeed his new environment.
He’d ask clients to deadlift, lunge, or squat a (regular) barbell and they’d look at him as he’d just said The Godfather III was the best of the Godfathers.
The fuck outta here.
However, Ben soon realized that all he had to do was take the barbell and slide it into a Landmine apparatus and his clients would be like “weeeeeeeeeeeeeee, this is fun.”
Set up a barbell in a squat rack for someone to squat? = Nope.
Set up a barbell in a Landmine for someone to squat? = SHUT UP AND TAKE MY MONEY.
And that’s totally fine.
If the Landmine makes something a little less intimidating and more accessible to the user and it gets him or her more excited to train, then I see no reason why we wouldn’t want to lean into that.
As my friend Kevin Mullins stated recently, “exercises are expressions of movement patterns.” In the grand scheme of things who cares how someone squats, deadlifts, lunges, rows, (or whatever). so long as they move and challenge the body to adapt and change?
2. Joint Friendliness
I’ve championed this point of view for a number of years now so I don’t feel I need to belabor it more here. In short, and to paraphrase myself..
“…a lot of people have really shitty overhead mobility.”
As such, oftentimes, overhead pressing may not be the best fit for some people (at least at present time) because they likely don’t have access to the requisite shoulder flexion in order to do so “safely” and without some significant compensations (namely, excessive lumbar extension and forward head posture).
As such, the Landmine Press is a perfect solution because it keeps trainees out of the “danger zone” yet still allows ample opportunity to train the shoulders, albeit in a more joint friendly fashion.
https://www.youtube.com/watch?v=r6Bmle–DUw
3. It Takes Up Minimal Space
My old training studio (before I moved to the current Core Collective) in Boston was 500 sq. feet (so just barely the size of a Jetta).
I’d have to be very judicious with the equipment I purchased so as not to take up too much space. I don’t know how everyone else feels, but for me open space was GOLD (and it still is, even with 10x more space)
The more I have of it the more activities I can do.

via GIPHY
I bought two Landmine attachments for my Rogue squat rack because 1) I knew I’d put them to good use and 2) I knew they wouldn’t take up too much space.
Rogue Landmine Attachment = $95
Selectorized Shoulder Press Machine = waaaaay more than that (and takes up way too much space).
Now, admittedly, I understand you can still McGyver a Landmine set-up without a Landmine using the corner of a wall (which is free), but that can still get a little suspect at times
One option is the Barbell Bomb sold by Ab Mat.2 Every one of my racks at Core Collective (six in total) have one of these as part of the “pod.” This makes it so you can set up a “Landmine” anywhere in your gym – in the corner someone, in the middle of the gym floor, on the roof, wherever! This can open the gateway to pressing, rowing, squatting, and hoisting things anywhere you please.
WU-TANG!
4. John Wick Likes It
True story.
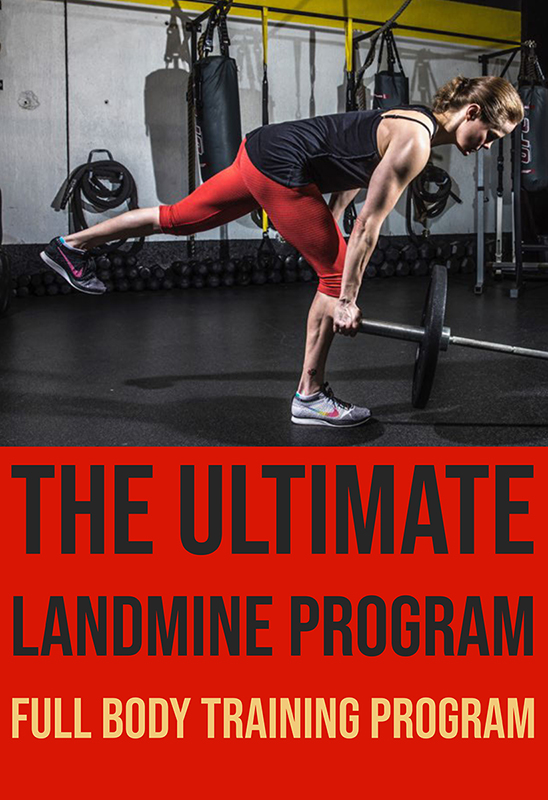
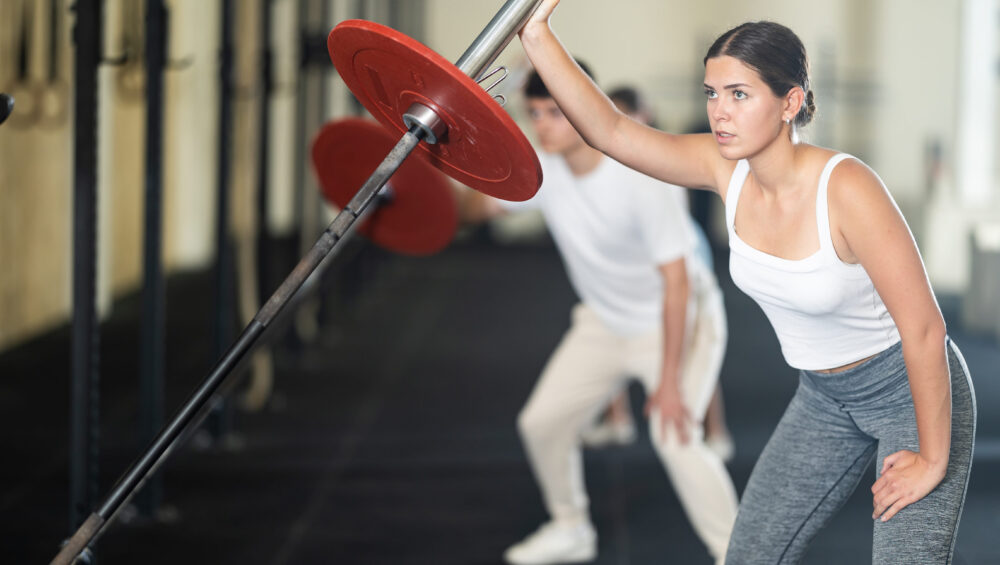
5. Versatility
The Landmine can be used to train every part of the body.
Upper Body (Meadows’ Row)
Lower Body (Offset Shouldering Squat)
Upper & Lower Together (Deep Squat 1-Arm Landmine Press)
Everything
And Whateverthefuck
Moreover, the Landmine can be utilized by newbies, gym rats, athletes, Doug from Accounting, and even wizards. It truly is one of the more versatile pieces of equipment out there.
What’s more, exercises can be performed in a litany of positions:
Lying Down (Hollow Position Landmine)
Half Kneeling (Half Kneeling Sideways Landmine Press)
Single Leg (Angled Landmine Reverse Lunge)
Just to name a few
6. Versatility Part II
Actually I lied, there’s more.
I’ve used the Landmine to help groove a hip hinge.
Because the barbell is “locked” in place it makes it that much easier for someone – especially those new to training – to intuitively feel the hinge.
Likewise, we can also easily add rotation and multi-planar motion into the mix:
And, lastly, who says you HAVE to do traditional Olympic style training in order to train and improve power?
That’s That
I am not doing the Landmine justice with this simple 1100-1200 word blog post. That said, I do think I’ve been able to get the point across that it’s a very versatile piece of equipment with an even more versatile range of applications. For an extra layer of badassery, I’d HIGHLY recommend Landmine University’s page HERE. There you’ll take landmine training to the next level and possibly take on a second career fighting crime.