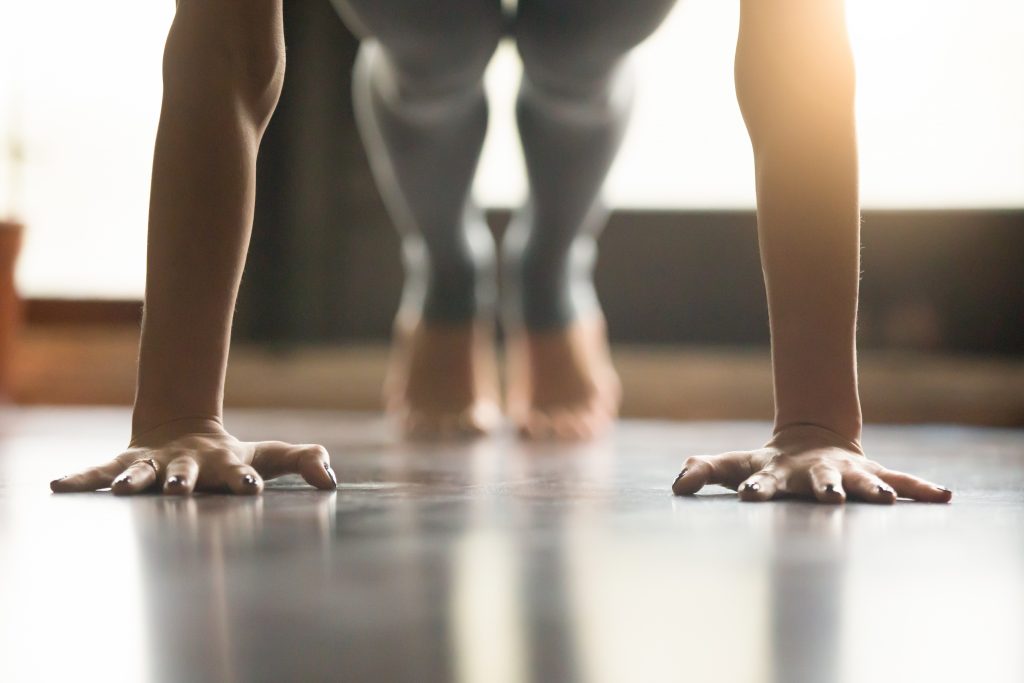
On a scale of 1 to NASCAR they’re not very exciting. They’re not exciting to perform, much less write about. You think I want to sit here and write about push-ups?
I can think of a litany of things I’d rather write about:
Standing in line at the Post Office.
Rugs.
Buying socks.
Attending another kid’s clarinet recital.
Alas, given the pickle we’re all in at the moment (everyone’s training at home with access to minimal equipment) and the tsunami of push-up tutorials and variations making my eyes bleed on social media I felt it prudent to add my quick two-cents on the topic.
As much as I may bellyache on the push-up I’m actually a huge fan.
There’s a bevy of benefits.
They’re one of the more user-friendly exercises out there, require no equipment other than your body, can be easily progressed or regressed depending on the needs and ability level of the person performing them, are gluten free, and, maybe most important of all, have a superb carry-over to both everyday and athletic pursuits.
I’ve been coaching people for 18+ years and I have yet to come across a client/athlete who’s improved their efficacy in performing a push-up and not seeing a noticeable improvement in their ability to execute sexier lifts like squats, deadlifts, you pick.
A push-up done well improves lumbo-pelvic control (canister position or stacked joints) which then helps with force transference which then helps with…E.V.E.R.Y.T.H.I.N.G.
Poor Torso Position:Lower back arching, anterior pelvic tilt (porn star). Thanks to the folks at Mark Fisher Fitness for the porn star analogy.
But this isn’t even the main mistake I want to point out.
Everyone points this one out and I am wowing no one here.
Here’s the One I Wanted to Point Out
Performing them with pants on.
Why?
What’s the benefit of wearing pants?
Tell me.
TELL ME!!
Okay, the REAL Thing I Wanted to Point Out
Another bonafide benefit of the push-up is it’s proclivity to bolster one’s overall shoulder health.
Sometimes (but really almost always) whenever someone comes to CORE to work with me in person due to a shoulder that hates them, I’ll watch him or her perform a push-up and I’ll inevitably see this:
Other than the obligatory game of connect the dots you could play with the “beauty” marks on my back, what do you see?
SPOILER: Two shoulder blades that are glued together.
THIS is the mistake I see most people make. The (in)ability of the shoulder blades to upwardly rotate and move around the ribcage.
The shoulder blades are meant to move. This cementing effect can spell trouble:
Overactive rhomboids, which feeds into scapular downward rotation syndrome.
Ligaments of anterior shoulder capsule become lax and are more prone to injury.
A part of my soul dies.
Instead, what I prefer to see is something like this:
(Kudos to my wife for the Stanley Kubrick’esq camera work).
The subtle “plus,” or protraction (pushing fully away) at the top of the push-up is MONEY for Serratus Anterior activation which then helps nudge the scapula into upward rotation (as well as abduction).
The result is a proper push-up and most likely a pair of shoulders that will feel infinitely better.
If I had to choose a Mt. Rushmore of people who are badass at push-ups it would go:
Rocky
He-Man
T-1000
Meghan Callaway
Just like her previous product – The Ultimate Pull-Up Program – Meghan leaves no stone unturned with regards to innovative ways to train the push-up.
Whether you’re a newbie or seasoned pro you will be challenged by this program. And, if you’re a fitness professional you’ll pick up a ton of ideas when it comes to programming.
It’s on sale this week at $50 off the regular price…HERE.
For an amuse bouche of some of the variations Meghan covers in her program check out her guest post below.
5 Advanced Push-Up Variations You Might Not Have Tried
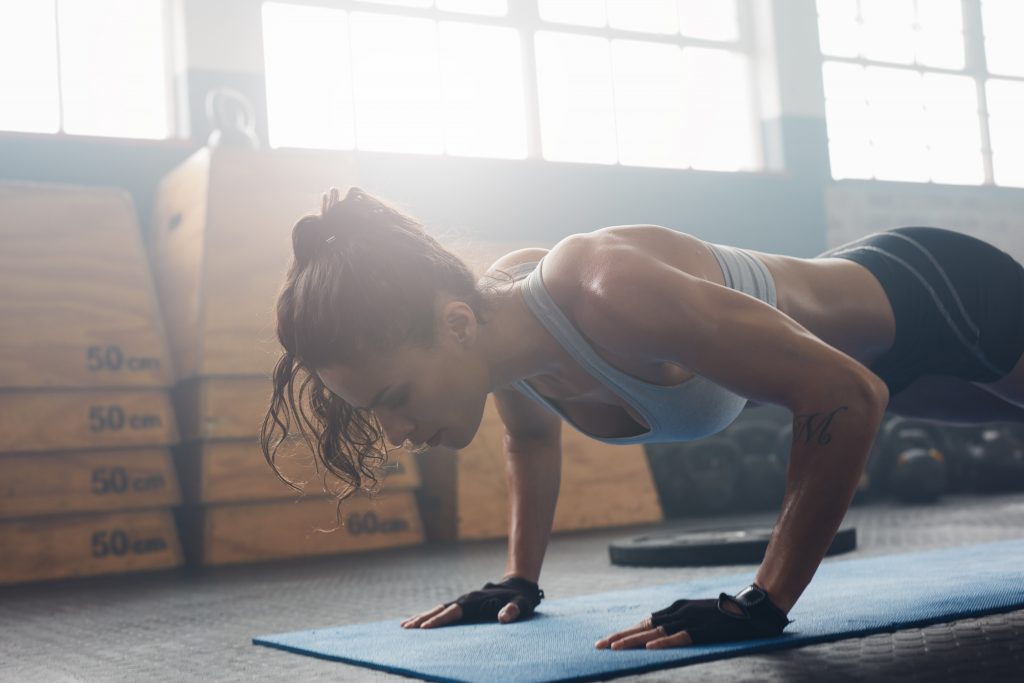
Push-ups are one of my favorite exercises.
Not just bodyweight exercises.
ALL exercises.
Push-ups are versatile and effective, and are certainly not boring. Push-ups require no equipment, so they can be done anywhere, anytime.
In our current world where most people are working out from home, push-ups and minimal equipment exercises are the perfect solution! Once you have mastered the fundamentals the sky is truly the limit, and there are countless advanced, innovative and fun push-up variations you can sink your teeth into.
Here are 5 advanced push-ups you might not have tried.
#1) Russian Push-Ups
This totally badass push-up variation absolutely torches the triceps, and requires a lot of lumbo-pelvic stability.
Coaching Tips:
Get into a plank position from your hands and feet.
Position your hands so they are slightly closer together than during regular push-ups. In the bottom position, your elbows and upper arms should remain tight to your sides.
At the top of the push-up, your shoulders, elbows and wrists should be in a relatively stacked position.
Your weight should be evenly distributed throughout your full hand and fingers, not just at the base of your hands/wrists. Pretend you are trying to spread your full hands and fingers to the floor.
Before each rep, take a deep breath in (360 degrees of air around your spine), brace your core (360 degree brace around your spine), and squeeze your glutes.
Lightly press your tongue against the roof of your mouth (behind your upper front teeth). This subtle trick can make keeping your head and neck from collapsing much easier.
Descend into the push-up and retract your shoulder blades. Think about lightly drawing your shoulder blades together and towards your spine as you are performing the eccentric component, but do not overdo this movement.
Once your upper arms are approximately parallel (or slightly closer) to the floor, press your body backwards and touch your forearms to the floor. Your feet should glide along the floor during this component.
Then pull your body forward and perform the reverse movements so your elbows are directly over your wrists and forearms are in a vertical position. Then press back up to the starting position. As you are performing these movements, do not sink into your shoulders, and do not allow your body to collapse towards the floor.
When you are pressing your body away from the floor and are returning to the top position, protract your shoulder blades. Think about spreading your shoulder blades apart and moving them away from your spine and around your ribcage.
Do not keep them pinned.
For the duration of the exercise, your body should remain in a straight line from the top/back of your head to heels.
In terms of breathing, do what works and feels best for you.
#2) Archer Push-Ups
This advanced push-up is a great progression if you have the goal of being able to do one arm push-ups. While one arm is performing the majority of the work, the other arm is providing some assistance.
Coaching Tips:
Get into a plank position from your hands and feet.
Position your hands so they are significantly wider than shoulder width apart.
On the side that is going to be doing the push-up, your weight should be evenly distributed throughout your full hand and fingers, not just at the base of your hand/wrist. Pretend you are trying to spread your full hand and fingers to the floor.
Before each rep, take a deep breath in (360 degrees of air around your spine), brace your core (360 degree brace around your spine), and squeeze your glutes.
Lightly press your tongue against the roof of your mouth (behind your upper front teeth). This subtle trick can make keeping your head and neck from collapsing much easier.
Descend into the push-up by bending one elbow as you would during regular push-ups, and straightening the other elbow
On the side that is performing the push-up, think about lightly drawing your shoulder blade towards your spine as you are performing the eccentric component, but do not overdo this movement.
In the bottom position, your elbow on the side that is performing the push-up should be positioned over your wrist, and forearm in a vertical position. Do not allow your elbow to flare out.
Your other elbow should be fully extended (but not hyperextended).
On the side that is performing the push-up, once your upper arm is approximately parallel (or slightly closer) to the floor, press up and return to the starting position.
On the side that is performing the push-up, when you are pressing your body away from the floor and are returning to the top position, protract your shoulder blade. Think about moving your shoulder blade away from your spine and around your ribcage. Do not keep it pinned.
Exhale after you have pressed away from the floor and as your body is returning to the top position of the push-up.
For the duration of the exercise, your body should remain in a straight line from the top/back of your head to heels.
#3) Longer Lever Push-Ups With Feet Elevated
This advanced push-up really isolates the triceps, and requires a lot of lumbo-pelvic stability. I upped the ante by elevating my feet on a couch.
Coaching Tips:
Get into a plank position from your hands and feet, and elevate your feet against a wall or couch.
Unlike during regular push-ups (or even triceps push-ups), position your hands so they are very close together, and so the fingertips of your thumbs and second fingers in both hands are touching, and form a triangle.
At the top of the push-up, your hands should be significantly ahead of your shoulders, and your elbows should be fully extended.
Your weight should be evenly distributed throughout your full hands and fingers, not just at the base of your hands/wrists. Pretend you are trying to spread your full hands and fingers to the floor.
Before each rep, take a deep breath in (360 degrees of air around your spine), brace your core (360 degree brace around your spine), and squeeze your glutes.
Lightly press your tongue against the roof of your mouth (behind your upper front teeth). This subtle trick can make keeping your head and neck from collapsing much easier.
Descend into the push-up by bending your elbows, and fully touch both forearms to the floor. In the bottom position, do not allow your elbows to flare out.
Once your forearms are completely on the floor, use your triceps to press up and return to the starting position.
Exhale after you have pressed away from the floor and as your body is returning to the top position of the push-up.
For the duration of the exercise, your body should remain in a straight line from the top/back of your head to heels.
#4) Negative 1.5 Rep Push-Ups + Band Resistance
Coaching Tips:
Place a resistance band under your hands, and so it is resting just below your shoulder blade area. Make sure that the band does not interfere with the movement of your shoulder blades.
Choose a resistance that allows you to use proper form at all times.
Get into a plank position from your hands and feet. Position your hands so they are shoulder width apart or slightly wider.
At the top of the push-up, your shoulders, elbows and wrists should be in a relatively stacked position.
Your weight should be evenly distributed throughout your full hand and fingers, not just at the base of your hands/wrists. Pretend you are trying to spread your full hands and fingers to the floor.
Before each rep, take a deep breath in (360 degrees of air around your spine), brace your core (360 degree brace around your spine), and squeeze your glutes.
Lightly press your tongue against the roof of your mouth (behind your upper front teeth). This subtle trick can make keeping your head and neck from collapsing much easier.
Descend into the push-up and retract your shoulder blades. Think about lightly drawing your shoulder blades together and towards your spine as you are performing the eccentric component, but do not overdo this movement.
Aim to lower yourself down in 3-5 seconds. Once you reach the bottom position of the push-up, press halfway up, then return to the bottom position, and then finally press up to the top/starting position. This is one rep.
In the bottom position, do not allow your elbows to flare out.
When you are pressing your body away from the floor and are returning to the top position, protract your shoulder blades. Think about spreading your shoulder blades apart and moving them away from your spine and around your ribcage. Do not keep them pinned.
For the duration of the exercise, your body should remain in a straight line from the top/back of your head to heels.
#5) Single Arm Push-Up Iso Hold + Band Resisted Towel Slides
This exercise is SO much tougher than it looks, and requires a lot of lumbo-pelvic stability, and shoulder/scapular stability. If you don’t believe me, give this a try ;).
Coaching Tips:
Place a resistance band around your wrists, and place one hand on a towel.
Position your hands so they are shoulder width apart or slightly wider, and get into the bottom position of a push-up. Tuck your chin, and keep your neck in a neutral position.
Your elbows should be positioned over your wrists, and forearms in a vertical position. Do not allow your elbows to flare out.
On the planted side, your weight should be evenly distributed throughout your full hand and fingers, not just at the base of your hand/wrist. Pretend you are trying to spread your full hand and fingers to the floor.
Lightly press your tongue against the roof of your mouth (behind your upper front teeth). This subtle trick can make keeping your head and neck from collapsing much easier.
While holding in a single arm push-up position, perform a slide out with the other side. Go to a range where you are able to maintain proper form.
For the duration of the exercise, your body should remain in a straight line from the top/back of your head to heels.
For the duration of the exercise, keep your core muscles braced (360 degree brace), and squeeze your glutes.
In terms of breathing, do what works and feels best for you.