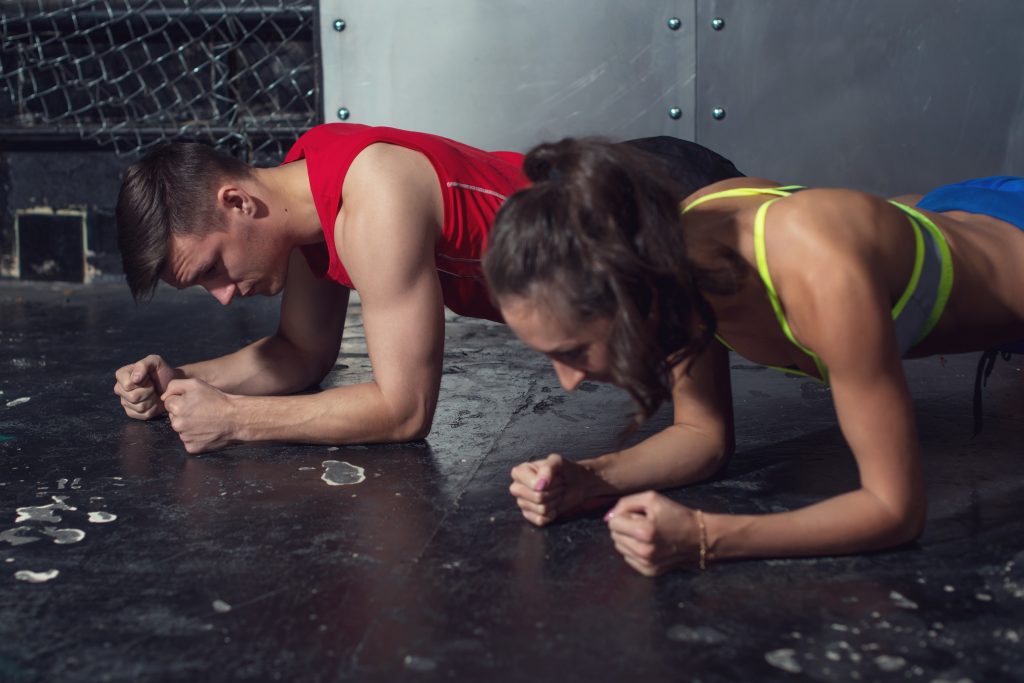
I know, I know.
Planks. Not the most exciting topic in the world.
I may as well post something on photosynthesis trends of oak trees in the Northeast, gas prices, or, I don’t know, what my kid had for breakfast this morning.
Everybody performs planks. And 90% of those people perform them incorrectly.
Today’s guest post by TG.com regular, Dr. Nicholas Licameli, sheds light on how to make your planks more effective.
HINT: It has zero to do with performing them for longer durations.
It’s Not What You Do, It’s How You Do It: A Better Plank
The plank.
We know it, we love it, and we know the benefits. However there is a simple way to make it more effective that you can implement immediately. It doesn’t involve any additional equipment and takes less than a second to do.
This simple modification will help not only those who are new to the exercise, but also those seasoned planking veterans.
Take a look at the following two pictures.
Can you spot the difference?
It’s subtle, almost undetectable.


Here’s some more information: The plank on the top can be held for 3 minutes or more, while the plank on the bottom can only be held for 15-20 seconds max.
The plank on the top is engaging only a fraction of the core and abdominal musculature, whereas the plank on the bottom is recruiting nearly every muscle in the body, including the core and abdominals.
Form looks good in both: No sagging or lifting of the lower back and pelvis, serratus anterior is engaged for scapular stability, and the head, neck, and entire spine are in neutral. So what makes the bottom plank more effective than the top?
Let’s find out.
No, Wait, Don’t Go…the Plank IS a Big Deal
The plank is one of the best exercises for improving total body strength as well as the health of your spine. In order to perform the plank correctly and effectively, pay close attention to the position of the lower back and pelvis as well as the direction of the force being applied through the floor.
When in the plank position, imagine what would happen if all friction on the floor disappeared, almost as if doing a plank on ice. Which direction would your elbows and feet slide? Most likely, they would slide out from under you: your arms would shoot forward, your feet would shoot backward, and your face would be imprinted on the dirty gym mat that you sprayed with a dirty plastic bottle filled with an ambiguous pale blue liquid.
Note From TG: No reason for this GIF other than to 1) I couldn’t find a video of someone falling during a plank and 2) it’s freakin hilarious. Sorry for the brief hijack Nicholas.
That is precisely the problem with the top picture.
You’ll notice that my toes are digging into the floor and isometrically pushing away, while my arms are isometrically pressing forward toward my head.
Biomechanically, I am isometrically pressing into shoulder flexion, ankle plantar flexion, hip extension, and spinal extension. While this may be a good way to hit the deltoids and calves (not really), it is not doing much for the core and abdominals.
Why?
Because the core, and more specifically the anterior core (the muscles on the front side), is responsible for spinal flexion and anti-extension. In order to maximally engage those muscles, you must train those movements.
This can be achieved by forcefully, and isometrically, pulling your arms and feet together. Now imagine doing it on ice. What would happen? Our arms and feet would slide toward each other and we’d assume a pike-like position with spinal flexion and anti-extension, which is just what we want.
And Bingo was his name-o…
Why Is This So Common?
Our bodies do not want to be wasteful, so they will do their best to use the least amount of energy necessary to complete a task, unless we tell it otherwise.
With the plank, sometimes due to our body’s natural compensations and other times due to conscious effort, we tend to get into the “position of least resistance,” usually for the sake of increasing the amount of time we can spend in the plank position.
In other words, we make the plank as passive as possible to increase its duration.
Some even wear their plank time like a badge of honor!
Hearing, “How long can you hold a plank?” is slowly becoming almost as common in gyms and health clubs as, “How much do ya bench, bro?”
That’s why it is important to remember the goal.
Unless you are a competitive planker and are scored by how long you can hold a plank, the goal of the exercise is not to increase its duration, but rather to train the core!
Doing planks is kind of like making a homemade dinner, cleaning the dishes, or having sex.
Just doing the activity doesn’t mean it will be good.
The effectiveness of the plank, as well as a homemade meal, the dishes, and sex, depends on the execution.
Don’t treat the plank like a marathon…treat it like a sprint.
Instead of thinking, “How long can I hold a plank for?” think, “How short can I hold a plank for?”
The idea being: The harder the contraction, the shorter the duration. The harder you contract and brace your core, the shorter the plank will be.
Tired of long sets of planks? Start squeezing!
Tips For A Better Plank
1. Squeeze your glutes and contract your abs (rectus abdominis AND transverse abdominis), which will pull your pelvis into a slight posterior pelvic tilt (think slightly rounding your back).
2. In order to contract your abs, you want to engage both your rectus abdominis (six-pack muscle) and transverse abdominis (deep stabilizer muscle, much like a corset). To contract the rectus abdominis, imagine bringing the ribs and front of the pelvis together. To contract the transverse abdominis, imagine the feeling when cold water reaches your navel when walking into a pool.
3. Keep your head and neck in a straight line. DO NOT LOOK UP. Your tailbone, mid back, and head should all be in line with each other (see picture below).
4. Isometrically pull your elbows and feet together. This is the key. Imagine doing a plank on ice or on a slippery hardwood floor with socks and a towel under your arms, as seen below.
5. Once you assume the proper position, maximally contract every muscle from your toes to your fingers, but DO NOT HOLD YOUR BREATH.
6. Imagine giving a big hug with your shoulder blades. Keep the shoulder blades protracted (pressed forward) and be sure they stay snug around the ribcage. This will help engage serratus anterior, which is an extremely important muscle for the health of your shoulders. It is also quite aesthetically pleasing when well developed.
7. When coming off of a plank, slowly lower your knees to the floor. DO NOT let your hips/pelvis drop to the floor.
Don’t rely on the traction of the floor to maintain the plank position, rely on your core.
Would you rather get to muscle fatigue after planking for 10 seconds or 3 minutes? Clearly, ain’t nobody got time for no 3-minute, ineffective planks. Try this modification out and I guarantee your planks will become instantly more effective and you will look at the plank in a new light and learn to love it.
For a video demonstration and explanation of everything I just wrote, be sure to check out my video right here:
About the Author
 Nicholas M. Licameli, PT, DPT
Doctor of Physical Therapy / Pro Natural Bodybuilder
Every single thing he does, Nick believes in giving himself to others in an attempt to make the world a happier, healthier, and more loving place. He wants to give people the power to change their lives. Bodybuilding and physical therapy just act as mediums for carrying out that cause. Love. Passion. Respect. Humility. Never an expert. Always a student. Love your journey.
YouTube: https://www.youtube.com/channel/UCAWFe5BmaJ_WFAh2aqsOg8g
Instagram: https://www.instagram.com/nicklicameli/


