Get your mind out of the gutter, I’m talking about muscles here…;o)

The Difference Between Good & Bad Stiffness
Having “tight” or “stiff” muscles is often viewed as a bad thing. Not losing a match of Squid Game bad, but bad nonetheless.
When someone presents with a (true) muscular length limitation there are increased risks of injury involved – strains, tears, explosive diarrhea1 – not to mention an increased likelihood of faulty movement patterns up and down the kinetic chain.
But injury isn’t always omnipresent.
Take any NBA basketball player through the FMS (Functional Movement Screen) – specifically the Active Straight Leg screen – and you’re bound to open up a can of epic fail.
NOTE: I personally don’t use the FMS currently when assessing/screening new clients. I took both modules several years ago and gained a lot of insight and knowledge. But in the years since I have gradually weened away from the FMS for myriad reasons. I know a lot of fitness professionals who still utilize it though and feel it’s a relevant talking point in the context of this post.

Many would be lucky to score a “2” (which is an average score), and many would showcase a right/left asymmetry, which, as we all know, means a baby seal dies.2
As a result, we’re quick to go into corrective exercise overdrive and implement every strategy under the sun that’ll increase hamstring length.
Ironically, it’s “tight hamstrings” that allow many NBA players the ability to do what they do so well. Namely, jump through the roof.
In this case stiffness is a good thing. We don’t have to fix it.
Of Note: the ASLR screen isn’t necessarily a hamstring length screen to begin with. Sure, offhand, it can be a way to ascertain hamstring length…but what we’re really looking at is the ability to both flex and extend the hip.
Stiff hamstrings can affect the ability to do so. However, more importantly, the ASLR is about teaching people to get into better positions – improving stiffness in other areas – to “trick” the CNS into turning off the emergency breaks.
Get people into more optimal positions (nudge them into better alignment), and what presented as “tight” or stiff is no longer the case.
Core Engaged Active Straight Leg Raise
Here we engage the anterior core – increase stiffness – to promote more posterior pelvic tilt (decrease “bad” stiffness in lumbar spine) in order to improve ROM, in addition to getting movement from the right areas (in this case the hips).
Likewise we can throw the hip flexors underneath the bus. I think we all know someone who’s been stretching their “tight” hip flexors since 1997.
Newsflash: If you’re someone who’s been mindlessly stretching your hip flexors for that long, with no improvement, what the hell?
I’d garner a guess the reason they feel tight/stiff is due to protective tension (and not actual tightness).
The stretch you’re doing – what I like to call the BS Hip Flexor Stretch – is doing nothing more than increasing “bad” stiffness in the:
- Lumbar spine.
- Anterior hip capsule.
- My eyes.
It exacerbates and feeds what’s causing the issues in the first place.
Instead, perform a REAL Hip Flexor Stretch by increasing (good) stiffness in the appropriate areas – the anterior core and glutes – and actually get at the crux of the issue.
Another prime example would be the lats.
Stiff lats can be a bad and a good thing.
When Shit Hits the Fan (I.e., Bad)
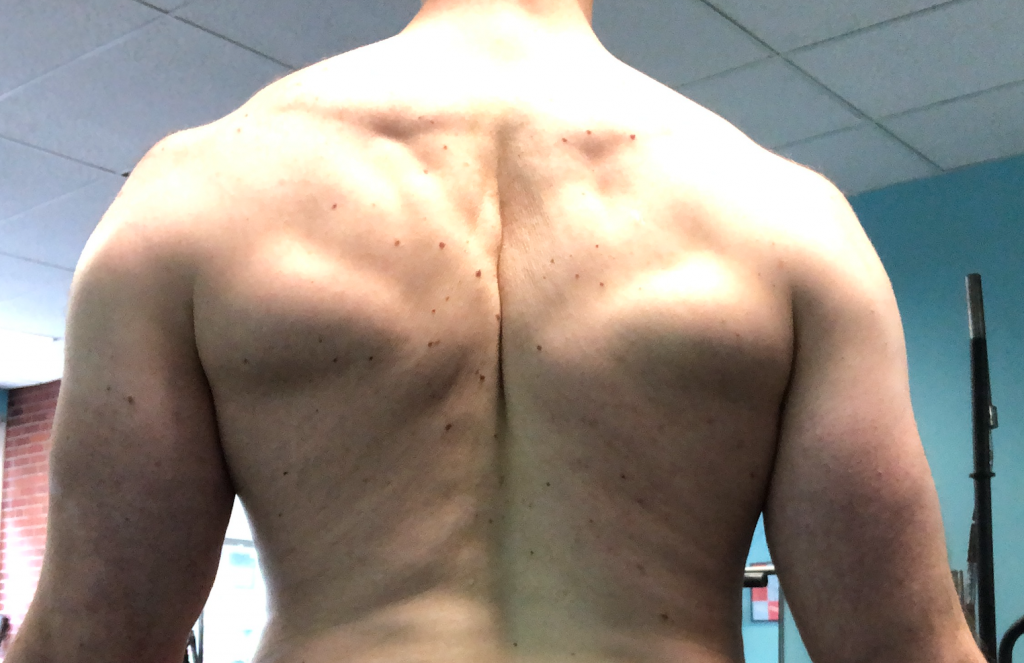
In mine and Dean Somerset’s Complete Shoulder & Hip Blueprint, we spend a large portion of time speaking about the lats and how, in the overhead athlete population (as well as in the general population), they’re often stiff/short and overactive.
As a result: Overactive/stiff lats will drive more shoulder depression, downward rotation, adduction, as well as lumbar extension in general.
Anyone familiar with PRI (Postural Restoration Institute) and their thought process and methodologies will recognize this “Scissor Posture,” where the pelvis is pointing in one direction (tilted forward in Anterior Pelvic Tilt) and the diaphragm pointing in another direction (due to an excessive rib flair and lumbar extension).
This is not only an unstable position to be in, but also keeps the nervous system “on” at all times, driving more sympathetic activity.
What’s more, with regards to shoulder health, overactive lats will make it much less likely someone will be able to elevate their arms overhead, as well as “accessing” their lower traps (which share a similar fiber orientation as the lats @ 135 degrees), which, in concert with the upper trap and serratus, aid scapular upward rotation, posterior tilt, and protraction.
Taking the time to coach someone to turn off (or down-regulate) their lats in order to flex, externally rotate, and abduct their shoulder works wonders.
Bench T-Spine Mobilization
Wall Lat Stretch w/ T-Spine Extension & Lift Off
When Lats Can Increase Your Overall Level of Badassery (I.e., Good Stiffness)
And now it’s time to turn those fuckers on!
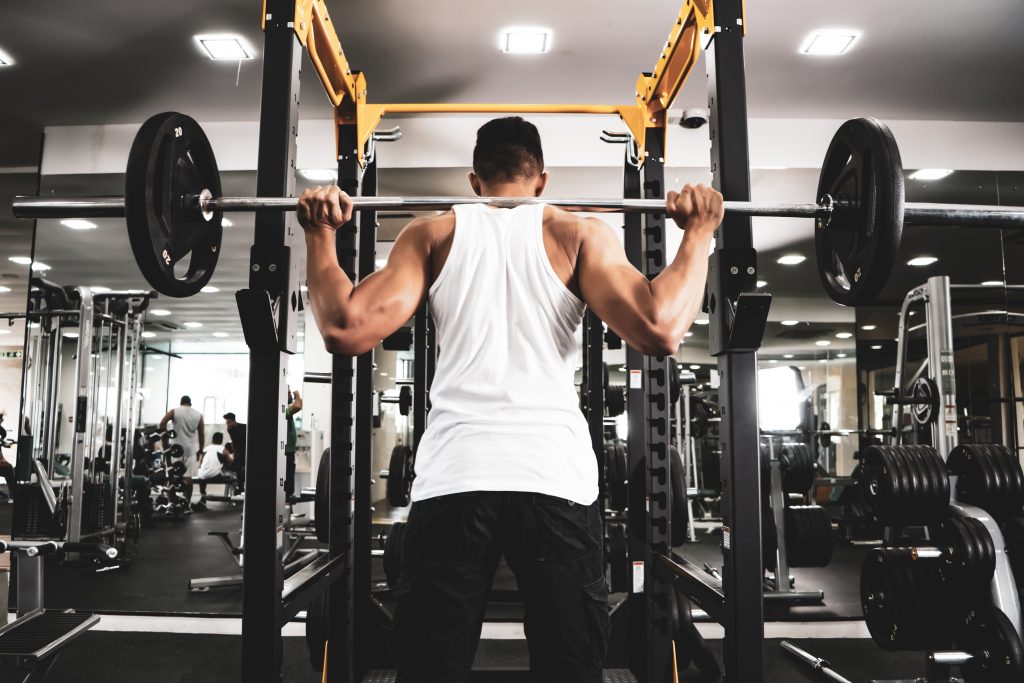
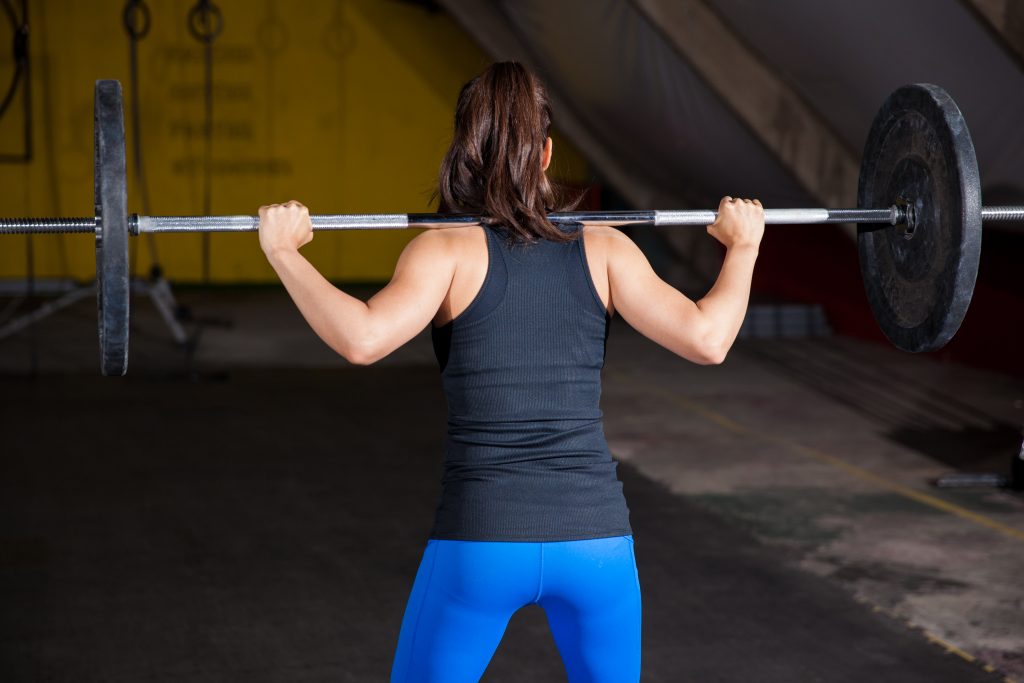
Your lats are a MAJOR player when it comes to performance in the weight room and lifting heavy things.
It also behooves you to turn them on in order to improve your technique in the “big 3.”
With the deadlift in particular there are some significant advantages:
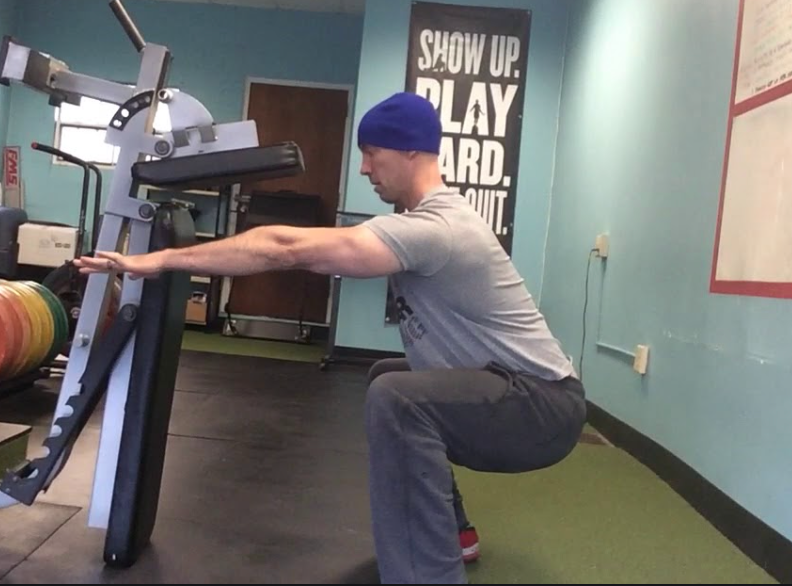
Another trick I like to use to help people learn to use their lats during a deadlift is to attach a band to the bar and a stationary object.
Trainees will learn very quickly what it means to “pull the bar towards you” and to keep the lats engaged throughout the duration of a set.
You can also peruse a few more options in this IG post from a few weeks ago:
View this post on Instagram
In this light, stiffness isn’t such a bad thing.
So, you see…
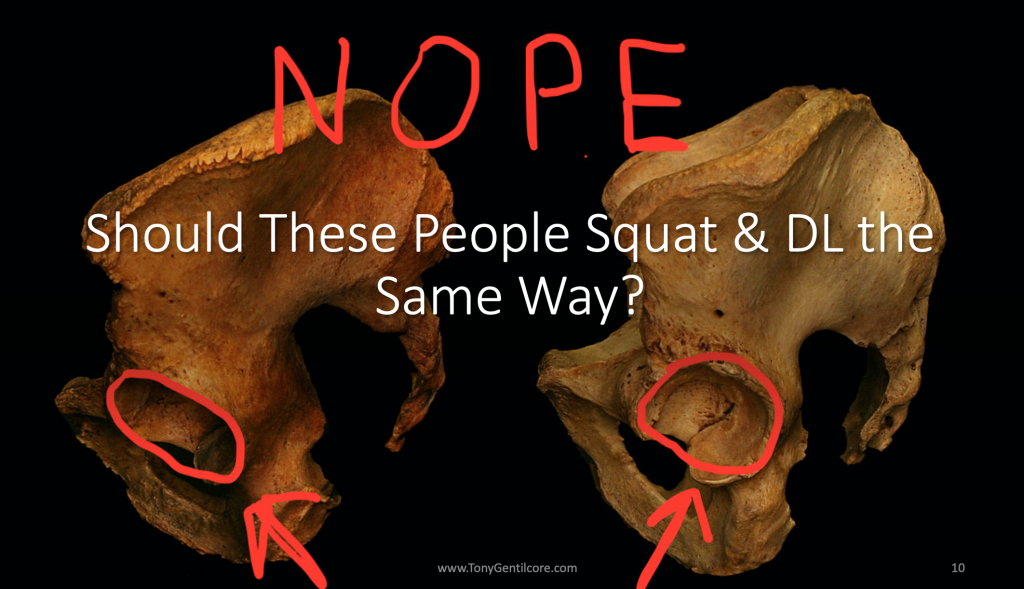
…it’s not always end of days or something that requires going into DEFCON 1 corrective exercise purgatory mode. Whether or not stiffness/tightness is bad or good depends on the context.