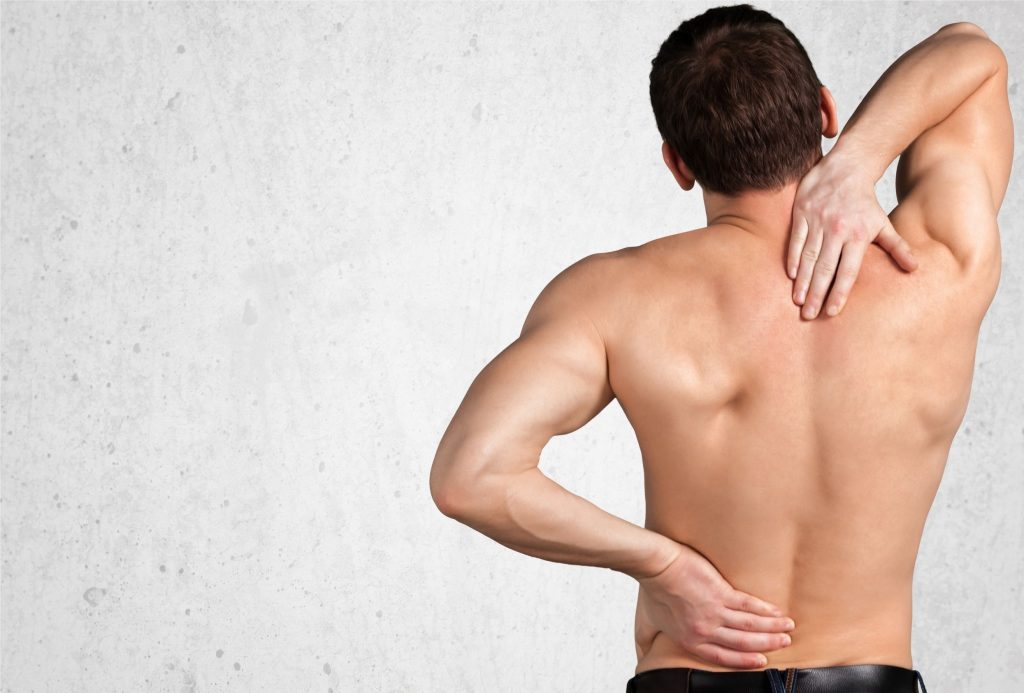
Whenever one of my clients or athletes walks in and starts to say something to the effect of “hey, my neck is really bothering me…..”
….I immediately put my fingers in my ears and start yelling “lalalalalala, I can’t hear you.”
Okay, kidding.
Neck stuff can be tricky if not terrifying, and I know my limitations as a strength coach. 90% of the time I refer out to clinicians more qualified in this department, but that doesn’t mean there aren’t some “first step” actions I can take to hopefully help and provide some relief.
In today’s guest post by Dr. Michael Infantino he provides some insights that are well within many strength coaches/personal trainer’s scope of practice.
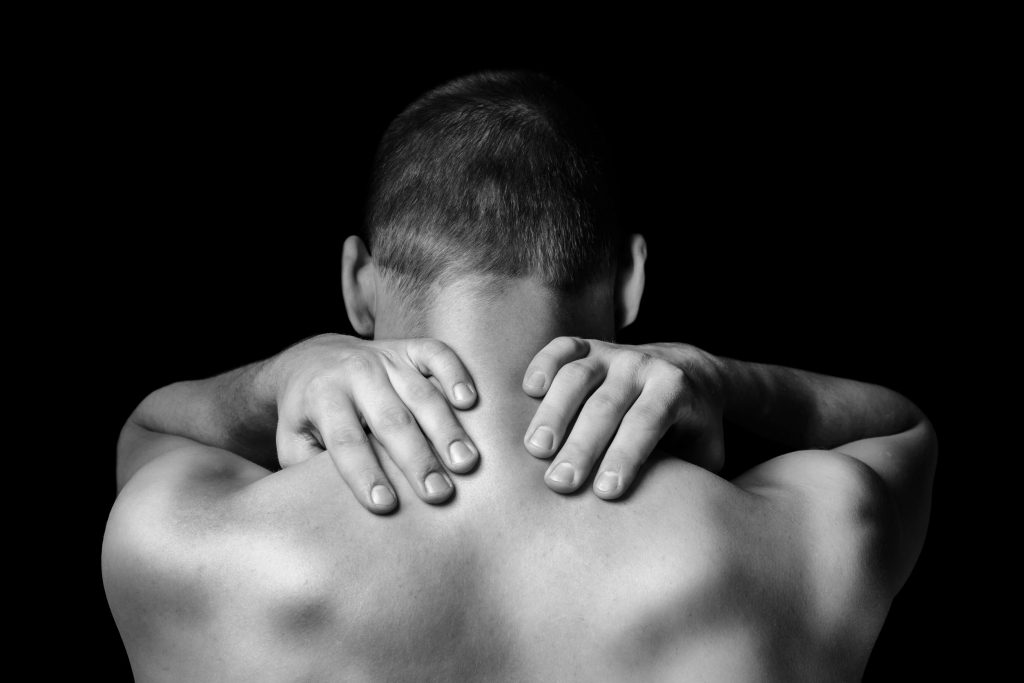
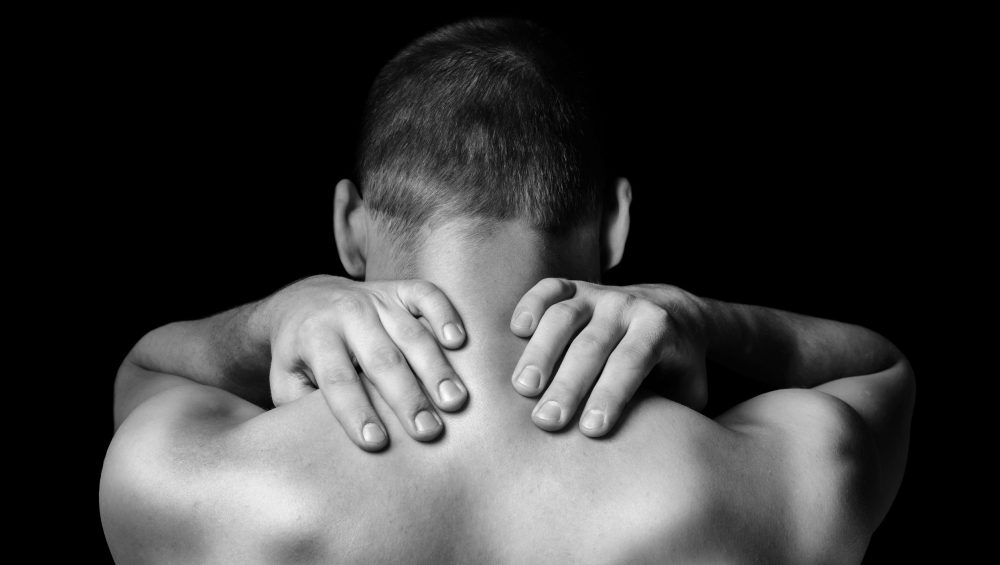
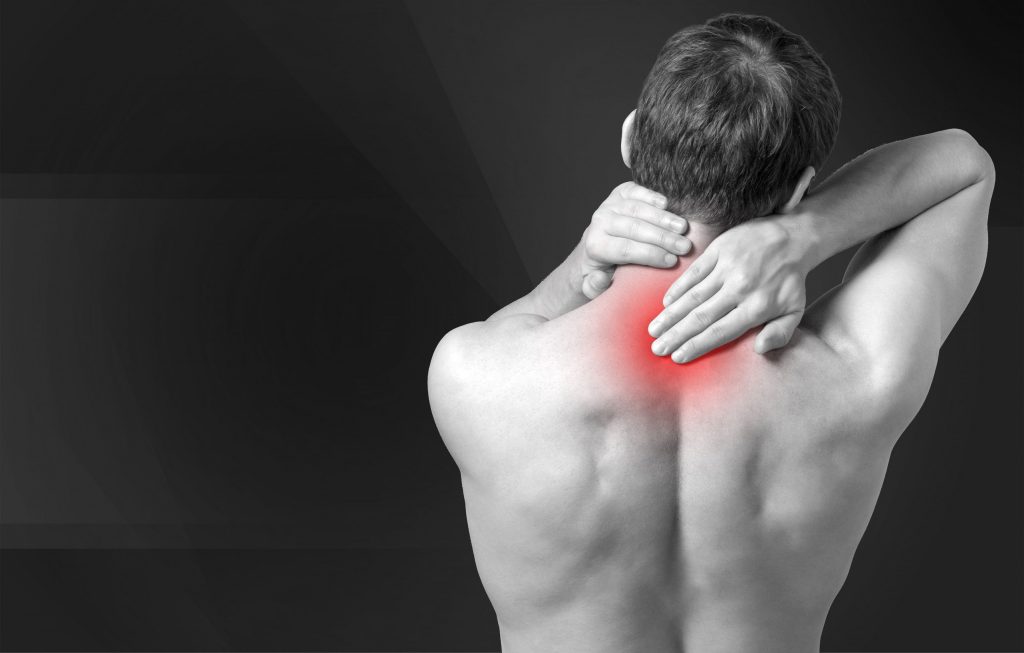
Neck Pain and Headaches: The Link and How To Find Relief
Today I want to help you figure out if your neck is the source of your headache and how to treat it. Headaches, similar to many other diagnoses, can lead you down a rabbit hole of confusion.
So many subtypes of headaches exist that it becomes overwhelming to actually go about treating them. Luckily, the link between your neck and headaches is becoming more recognized.
I regularly see patients who are referred for suspected cervicogenic headache. Cervicogenic headaches imply that the neck is the cause of your headache.
This can be tricky because most headaches will actually result in some type of neck tension. This isn’t to say that treating the neck in these scenarios is a waste of time. It may resolve neck pain.
It just isn’t the answer to resolving your headaches.
Assuming that your headaches are cervicogenic in nature, what is the next step? Treating your neck pain is only one piece of the puzzle. We need to get to the route of the problem. Blaming your headaches solely on your neck is somewhat naïve. You need to consider how your lifestyle may have resulted in your neck pain and headaches.
Remember, everything affects everything. When our neck hurts we start wondering what ligament, muscle, nerve, disc or bone may be injured. Often times neglecting the actual cause of neck pain.
Injury and inflammatory processes local to the neck can occur for a multitude of reasons. It is not always secondary to trauma. Most of us start wondering if we slept in a bad position the night before or think back to a neck injury we sustained twenty years ago.
“That must be the problem! I used to play way to hard in pee-wee football [#glorydays].”
Instead, we need to consider the BIG 3. Sleep, nutrition and exercise. Ask yourself these questions.
How has my sleep been?
How about nutrition?
Have I been neglecting exercise or neglecting recovery?
Most problems start with sleep, nutrition and exercise. If you are missing the mark in any one area expect problems. Missing the mark in multiple areas? Now we have BIG problems.
How To Diagnose Cervicogenic Headaches?
Here’s your sign…
- Headache triggered by sustained postures.
- Neck pain that triggers a headache.
- Neck pain and headaches that are located on one side.
- Less than 30 degrees of upper cervical range of motion.
It is more common for cervicogenic headaches to be located on one side of the head, but not always. In some cases, people will sustain a whiplash injury or concussion. Headaches associated with these injuries are often multifactorial. However, we have often seen improvements by treating each suspected cause.
Treating your neck in these situations tends to do wonders.
Considerations For All
Posture… blah, blah, blah. I know we hear about it all the time.
You need to be cognizant of your posture.
This doesn’t mean that you need to sit at attention all day.
My biggest pet peeve is hearing that an “ergonomic specialist” told you that you needed to sit like a statue… all day. “Tall, chin tucked, flat back, shoulder blades pinched…” You’re kidding right?
As always, “poor posture” is not necessarily the culprit when it comes to pain.
Staying in one position for too long is the problem.
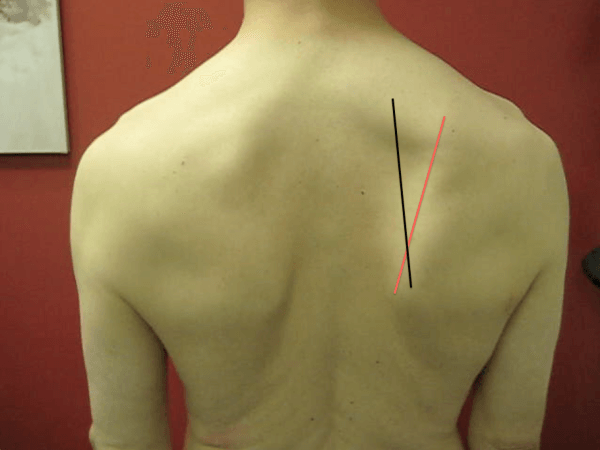
This doesn’t mean you have free reign to sit like the Hunch Back of Notre Dame. Studies have shown that a forward head position can increase the frequency of headaches (C Fernández-de-las-Peñas, 2006).
We often overlook the fact that our posture can have a huge impact on how we feel. Picture someone that is sad or depressed. What does their posture look like? Now think of someone confident and enthusiastic. What does their posture look like? How you position yourself can really play into how you feel physically and emotionally.
Tip: Change position every twenty minutes. Taking a walk can do wonders. Drinking a lot of water can force bathroom breaks. If you are stuck in a car shift positions often. Add some neck motions, some back arches, etc.
Be creative… and safe.
Flexibility
With a forward head posture normally comes tense muscles. Doing a quick scan to see which neck motions and shoulder motions feel more limited can make a huge difference.
Multiple studies have found a correlation between cervicogenic headaches and tightness of the sternocleidomastoid, upper trapezius, scalenes, levator scapulae, suboccipitals, and pectoral muscles (Page, 2011).
The picture below keeps things relatively simple.
Stretch the tight muscles and strengthen the weak ones. We will give more guidance on this in the next section.
Strength
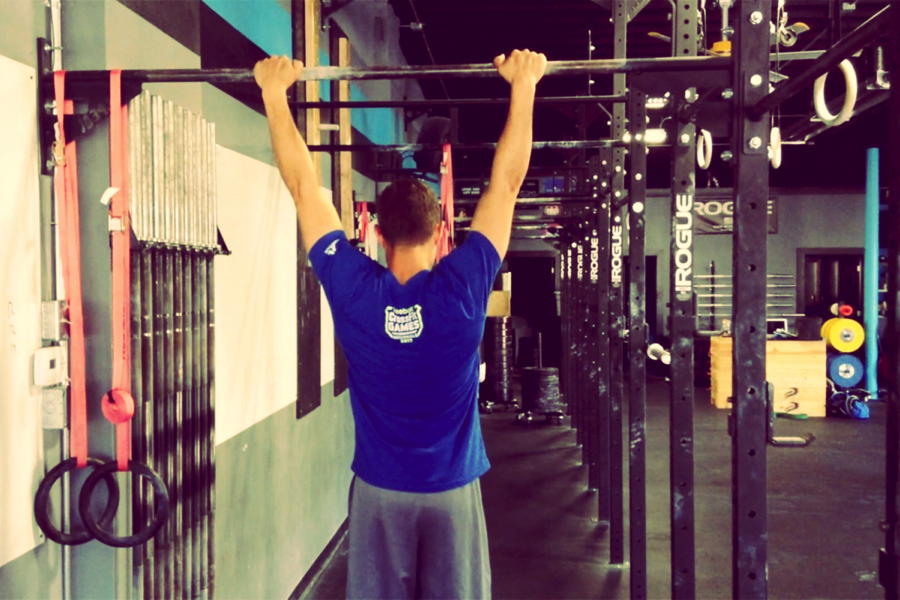
Strengthening the neck has shown to improve neck pain and cervicogenic headaches.
Pain, poor posture and trigger points can alter the strength, endurance, timing and proprioception of the muscles around your neck.
Once you address trigger points and flexibility, restoring strength and endurance around the neck can happen relatively quickly.
The more research we have, the less specific it seems we need to be with these exercises (Ask, 2009; Jull, 2009; Gross, 2009; Van Ettekoven, 2006). Studies have shown that specific neck and upper body strengthening can be just as effective as general strengthening (Anderson, 2011).
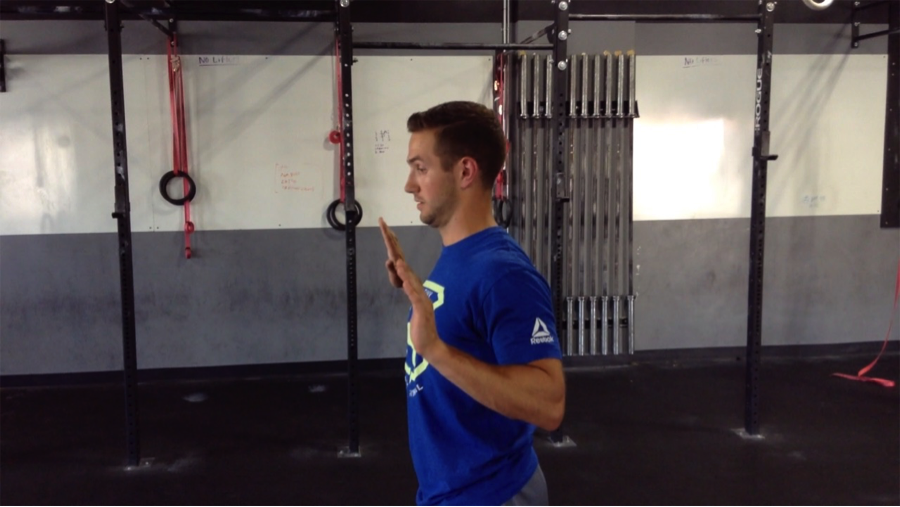
Some medical providers will argue for the use of “deep cervical strengthening” using a biofeedback cuff.
A what!?
This is basically a rigged up blood pressure cuff. I love using this with patients because it teaches them how to realign their neck without using a lot of big muscles. If you do not have a blood pressure cuff have no fear. Gently performing chin tucks while attempting to avoid large muscle contractions will do.
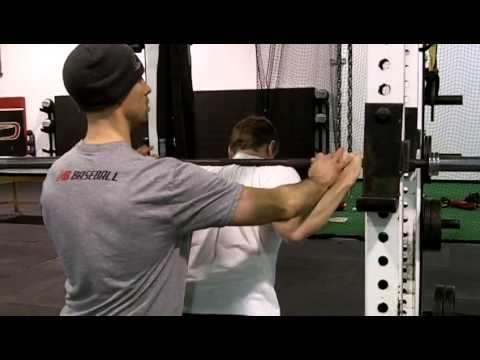
[Watch the Neck Pain and Cervicogenic Headache Strength video below for more details on chin tucks].
Breathing
Telling someone they need to breath a specific way comes with some challenges.
We don’t always know why they have adopted an upper chest breathing strategy. It could be postural or even developmental. Some of us adopt certain postures because of work requirements or cultural norms. Other times it could be related to how we breathe; mouth vs. nose breathing.
Studies show that mouth breathers more commonly present with forward head posture.
It seems that a forward head position helps increase respiratory strength by using neck and chest musculature (Okuro, 2011; Int J Neiva PD, 2009).
So a forward head position is good?
No, this is a compensation that leads to increased tension and trigger points.
The emphasis placed on diaphragmatic breathing has been great over the past few years. We also need to make sure people are learning how to perform nose breathing. Besides helping improve oxygenation and preventing forward head posture, it has many other wonderful benefits. Since this is not the main topic of today I digress.
How To Test & Treat Yourself
The goal here is to keep things QUICK and DIRTY.
We will go through (1) motion and (2) strength testing.
Do you need to do all of these tests?
Absolutely not.
The benefit of testing and retesting is to see if you are actually making change. If your motion and strength improve after a couple weeks without resolution of headaches we need to go back to the drawing board. Consider seeing a skilled medical provider.
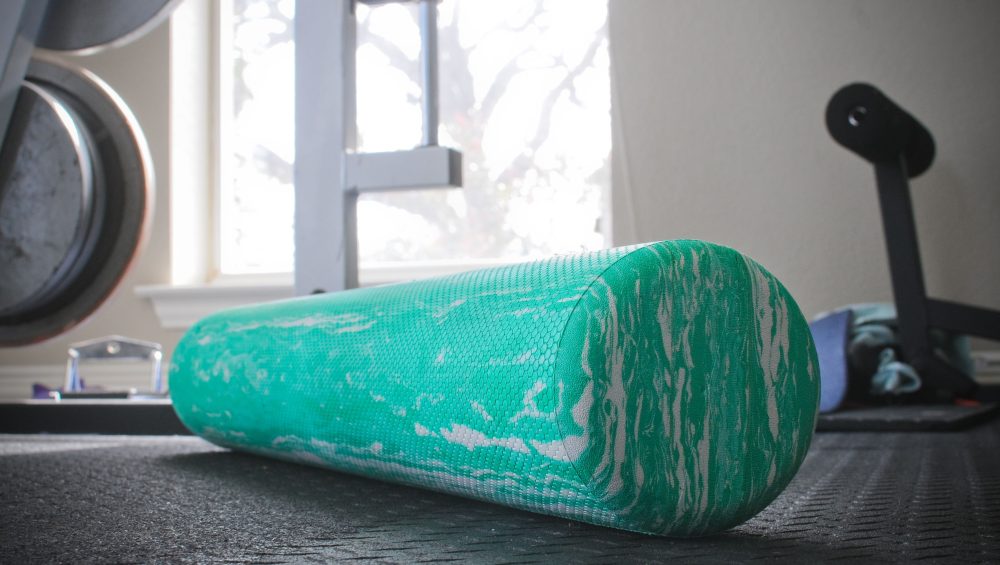
If you are short on time just go right to the “Ouch Test.” This is when you roll some inanimate object on your neck in an effort to identify trigger points. With a smile on your face of course.
Motion and Tissue Quality Testing:
1. Flexion/Rotation Test
The goal here is to see if your upper cervical rotation is limited in one direction. Cervicogenic headaches are usually attributed to dysfunction at the upper three cervical levels.
Flex your neck and rotate your head in an attempt to identify a “tighter side.” Keep in mind that what you feel isn’t always real. Give it a shot and consider using a friend to assist or a video camera to identify the direction you are limited in.
If you can’t get your chin to touch your chest we already know your neck needs some work.
2. Rotation/Flexion Test
If you had trouble getting your chin to your chest this test will help you identify if one side is tighter. This time you are rotating and then attempting to touch your chin to your collarbone.
This lets us know if upper cervical flexion is more limited on one side than the other. If you are limited, the assumption is that the opposite side cervical musculature is limiting you. To measure, see how many fingers can fit between your chin and collar bone.
Having objective measures will help you see if you made progress after treatment.
3. Follow The Map
Sometimes a roadmap is helpful for identifying the muscles that may be contributing to your pain and headaches. Being familiar with muscle referral patterns can help remove a little anxiety related to your pain. It helps prevent you from always thinking the worst when pain sets in. With a road map it is easier to get to your destination.
4. The “Ouch” Test
This is a more simple way of identifying which muscles may be triggering your headaches. Use your fingers, a roller stick, Thera-cane, lacrosse ball or whatever to identify tender regions around the upper neck and shoulders.
If a spot actually recreates your headache, you struck GOLD.
If you identify a tender region that does not recreate your headache, it would not hurt to treat it anyway.
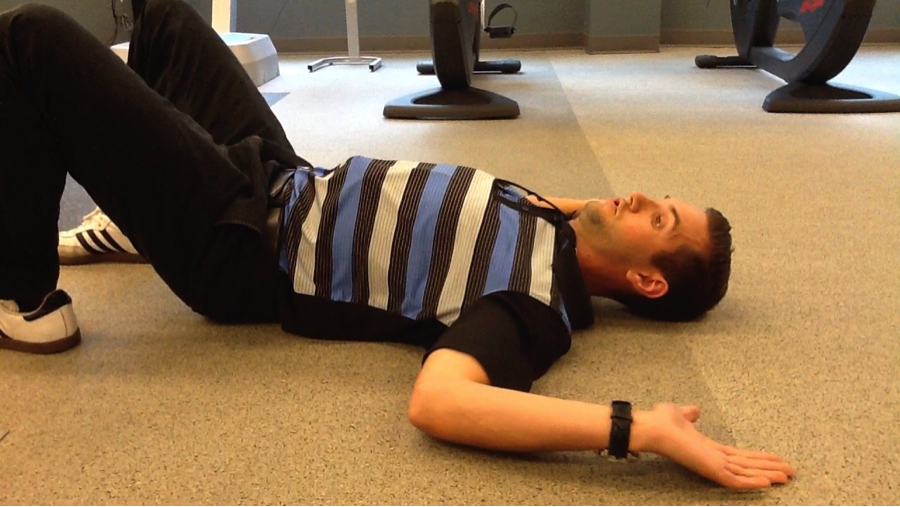
5. Strength Testing
Chin Tuck and Lift Test
- Lying flat on the ground or in bed, place on hand underneath your head.
- First perform a small chin tuck and then remove your hand from behind your head without changing position.
- Men should be able to maintain this position for at least 40 seconds with minimal shaking local to the head and neck.
- Women should be able to maintain this position for at least 30 seconds with minimal shaking local to the head and neck (Domenech et. al, 2012).
Treatment. Let’s Get To Work.
1. Soft Tissue and Joint Treatment
Our goal here is to restore motion to the upper cervical region and resolve any trigger points.
2. Strength Treatment
We believe in being better than the average.
Your goal is to be able to hold the chin tuck and lift position for 1 minute, in a curl up position. We work on short duration holds with repetitions to help avoid excessive soreness.
Please do not be a hero and do long duration holds each time you exercise.
This recommendation is not for your general strength routine, only for this rehabilitation plan.
Goal: 1 minute hold in curl up position.
Retest: At the end of each week.
Protocol [See strength video above for demonstrations]:
Phase 1: Chin Tuck and Lift. 5 second holds for 10 repetitions. (5x/week)
When you can perform this with ease and no pain move on.
Phase 2: Chin Tuck and Lift. 10 second holds for 10 repetitions. (5x/week)
When you can perform this with ease and no pain move on.
Phase 3: Curl up + Chin Tuck and Lift. 5 second holds for 10 repetitions. (5x/week)
When you can perform this with ease and no pain move on.
Phase 4: Curl Up + Chin Tuck and Lift. 10 second holds for 10 repetitions. (5x/week)
Headache Diary: Become A Good Detective.
Using a headache diary is a great way to identify the source of your headache.
If you want to be a good detective you need to take some notes. Noting the time of day, triggers (specific activity, specific movement you made, foods you ate, your mood, etc.), symptoms that preceded your headache, medications used and how you found relief.
Achieving 1% gains in various regions of your life, on a daily basis, is a surefire way to resolve most health issues.
Overview
The link between cervical dysfunction and headaches is often overlooked.
Basic maintenance that includes soft tissue work, strength, awareness of posture and proper breathing could be the fix you need. The medical community as a whole has been getting better at addressing the cause of headaches rather than covering them up with medication. Putting a spot light on the fundamental components of health should always be the answer.
Getting sleep, nutrition and exercise right is often the answer to most disease and illness. This will make your life much simpler, not to mention how much better you will feel.
Interested in a FREE home exercise plan. Click here to get started today!
About the Author
 Dr. Michael Infantino is a physical therapist. He works with active military members in the DMV region. You can find more articles by Michael at RehabRenegade.com.


 Dr. Michael Infantino is a physical therapist. He works with active military members in the DMV region. You can find more articles by Michael at


 Dr. Nicholas M. Licameli, PT, DPT