I’m always asked what’s the main difference between training professional athletes and those who think they’re still an athlete.
Not much, really.
I still very much prefer to treat my general population clients like athletes – encouraging them to lift, hoist, push, toss, and drag things every which way – if for no other reason than they can.
However, part of my job as their coach is to know when to pump the brakes and to keep their ego in check. In today’s guest post, California based strength coach Scott Hansen discusses some subtle nuances and tweaks that can be made to a strength & conditioning program catered to the more “mature”” crowd.
Enjoy.
Favorite Movements For Athletes and Modifications For Adult Athletes
When I was 20 years old, I could do just about anything.
Squat 10×10, sure.
Hell, we did that a for a few months out of each year back then.
Deadlifts so heavy you could feel your soul cracking?
Check.
And with ugly technique that would make the Diesel Weasel blush.
Note From TG: 10 points to Gryffindor for the Diesel Weasel reference.
With time, experience, injuries, and spending a solid percentage of my yearly income over the last decade plus on learning from people smarter than me, I’ve come to realize a few things:
1) Young athletes need load and stress to build strength and physical resiliency.
I.e., Full ranges of motion and big lifts that require a lot of work. Cleans, snatches, barbell bench presses, chin ups, front squats, deadlifts, etc.
Planet Earth is trying to make you small, frail, and weak from the time you turn about 20 years old onward
Unfortunately, after you’ve spent a couple of decades on the planet, you’ve accumulated some wear and tear.
It’s kind of like an apartment: You might take pretty good care of it for the most part, but every now and then you throw a ripper and the carpet gets stained. Over 20 or more years, there are lots of little stains and dings on the walls.
The stains and dings aren’t necessarily bad enough to knock the building down, but it’s certainly not in the kind of shape it was in when you first moved in.
Well, that beat up apartment is more or less your body.
The way we trained when we were young might have been the best possible way to train then, but we probably need to make some modifications to it as we get a bit older. I’m not saying to train solely with resistance bands and shake weights in group exercise classes. I’m just saying that we can train hard and more intelligently to respect how our bodies have changed over time.
The same qualities still have to be trained, mind you. We still need to get strong and train to build and maintain muscle. We need to be mobile, athletic, and not gas out walking down to the mailbox. As a matter of fact, we can still thrive and be better than we were in our younger years, as long as we’re smart.
Here are my favorite lifts for each movement pattern/quality for those under 25 years old, and how things should be modified for the slightly more, uh, mature crowd.
Power
Athlete: Hang Clean
Adult Athlete: Box Jump
https://www.youtube.com/watch?v=Xbg7sxs_Auc
I love Olympic lift variations.
From creating power to absorbing force on the catch, hang cleans can be a great tool for a younger athlete. They also require a ton of wrist and thoracic mobility, and an awkward catch might just make you have to call out of work the next day.
Replacing cleans with box jumps means you get a huge percentage of the pros, and none of the cons, so I use it as a main power exercise in my adult athlete programs.
Just make sure to do them right!
Squat
Athlete: Front Squat
https://www.youtube.com/watch?v=9xzNc–18as
Adult Athlete: Double Kettlebell Front Squat
https://www.youtube.com/watch?v=8bx9IP49B-w
I’m a big front squat fan.
You really can’t do them wrong, you have less shear stress on the spine, and you get a ton of good stuff expressed: thoracic spine mobility, upper back and core strength, hip mobility, and of course lower body strength.
Similarly to cleans, you need solid wrist mobility, and since the majority of adults have spines that look like question marks, I don’t love front squatting for most adult athletes, most of the time.
Rather, I like hammering double kettlebell front squats.
Similarly to box jumps and cleans, I feel like you get a huge chunk of the benefits of front squatting without the learning curve or discomfort on the wrists, and you can keep the spinal loading down.
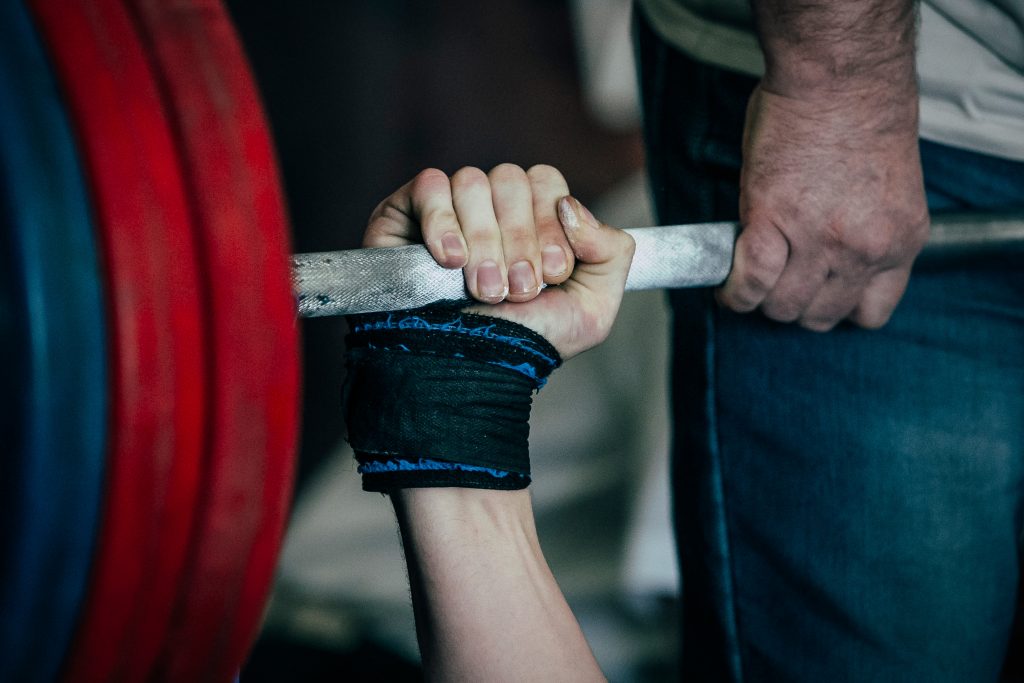
Deadlift
Athlete: Trap Bar Deadlift
https://www.youtube.com/watch?v=T_1CdItspHk
Adult Athlete: Trap Bar Deadlift/Kettlebell Deadlift
Note From TG: That time when I thought it would be cool to grow a beard.
Trap bar deadlifts are a great full body lift, and I tend to prefer them over conventional pulls. With the weight evenly distributed around you, you can load these up pretty heavy and get a huge training stimulus without having such high prerequisites as barbell deads.
I certainly employ these for my adult athletes, and heavy, but I’m even more diligent on technique than I am with any other exercise, which means I tend to progress it a little more slowly. Wendler’s 5/3/1 works great here, just stop on the top set at 10 at the most.
Otherwise, you’re liable to take a nap for 3 days.
For the much older athlete, I just go back to the question “how strong is strong enough?” If I can get that with a kettlebell instead of a trap bar, then I’ll go with that, but that might come down to how heavy your bells go.
Split Stance
Athlete: Rear Foot Elevated Split Squat with Front Foot Elevated
https://www.youtube.com/watch?v=6_4AoHwncBI
Adult: Rear Foot Elevated Split Squat OR Double KB Front Rack Split Squat
https://www.youtube.com/watch?v=WJxBWyfc1Iw
RFESS have a special place in my heart after coaching them at Mike Boyle Strength and Conditioning for so long, and because getting brutally strong on these is vital to being able to perform on the court, field, ice, or mat.
By elevating the front foot as well, you get an even bigger range of motion, and moving big weight through big ranges of motion is how you get strong.
Adult athletes can certainly do these as well, but sometimes are a bit limited with ROM for the front foot elevated version. I also like to keep them with split squats to allow for some extra big toe mobility work built into the lift, as so many people tend to get stiff there over time, and stiff toes lead to balance issues and falls.
By front loading it, we can get more core work in and reinforce thoracic extension as well.
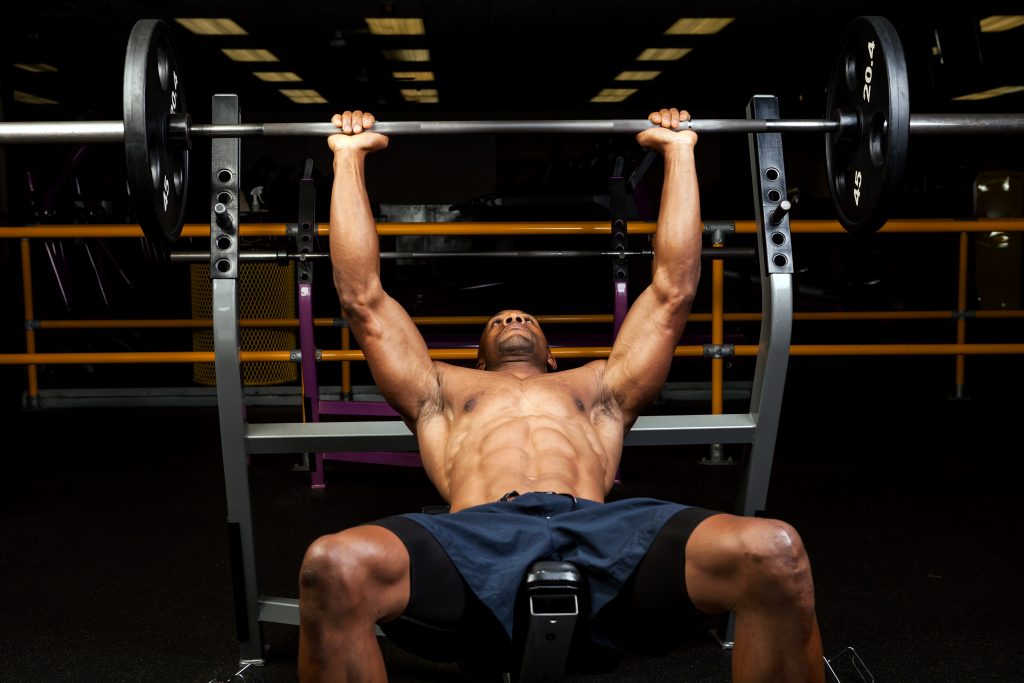
Horizontal Press
Athlete: Close Grip Bench
Adult Athlete: Low Incline 1-Arm DB Bench
I’m a big advocate on narrower grips on presses for most people, so naturally I love close grip benches. They’re a little easier on the shoulders and you still build the same upper body strength as with a wider grip.
I like index fingers on the edge of the smooth part of the bar, so not crazy close.
The wrist and shoulder issues with the aging athlete play a role here, and I prefer to see them doing more one-arm pressing, and on a low incline. This is more shoulder friendly, brings a bigger core component into the mix, and allows for asymmetries to be worked through, rather than around.
I know, I kind of copped out here and picked two.
Sue me.
Vertical Press
Athlete: Standing DB Press
Adult Athlete: Landmine Press OR Half Kneeling 1-Arm Bottoms Up Kettlebell Press
https://www.youtube.com/watch?v=ev9yVuAfeiY
I know a lot of people love the press done traditionally with a barbell, and I do too. If you put a gun to my head and ask me what my favorite vertical press for athletes is, I’m going with the dumbbell version, though.
Again, I don’t have any problems with barbell pressing, I just like the more natural rotation in the shoulders with dumbbells, and as we see more and more young athletes developing nasty forward head postures and stiff thoracic spines from all the phone and video game time, the dumbbells just seem to be a better fit.
Most adult athletes would benefit from spending the majority of their “overhead” work in a more “high incline” space, which the landmine allows. It all comes back to shoulder and thoracic spine health, and life just tends to cause us issues over time.
One caveat to this is the half kneeling bottoms up kettlebell press. The bottoms up bell triggers the rotator cuff to work to a greater degree, and the half kneeling position keeps from being able to use lower back extension as a replacement for the arm to move overhead.
I’ve seen a lot of people who couldn’t go overhead without pain, but the bottoms up press felt great, so it’ll depend on the individual here.
Chalk this up to cop out number two.
Horizontal Pull
Athlete: 1-Arm DB Row
Adult: TRX Inverted Row
DB rows should be a staple in every program, and especially so in those of our athletes. Building a big, strong back helps us obviously in sports, and helps to keep our shoulders strong and healthy as well.
I have no problem with doing these with adult athletes at all, I just like to slow down the tempo and try to get more out of less load. Body English tends to be a factor in these as the weight goes up, and even a little bit with someone who’s got a history of lower back crankiness can cause issues.
This is why I love TRX inverted rows for this population. They allow for a natural rotation on the shoulders, you can load them up with vests or elevate the feet, and people can generally do them more frequently than more traditional heavy rows.
Vertical Pull
Athlete: Heavy Chin Up
Adult Athlete: Ring Chins
Mike Boyle has talked in the past about how he likes athletes to have at least a 1-1 strength ratio of chin up strength to bench press strength to mitigate shoulder injuries, and I concur on that wholeheartedly.
When we start getting older, though, shoulder issues can lead to elbow soreness on chins, so if people have the ability to go overhead, I prefer they do their chins on rings for better shoulder mechanics, and if that’s still too much, X pulldowns are a great solution.
Much like landmine presses, they aren’t 100% overhead, but still get a lot of the benefits.
Core Anti Extension
Athlete: Medicine Ball Rollouts
https://www.youtube.com/watch?v=iYslVkCzvUk
Adult Athlete: Bodysaw
https://www.youtube.com/watch?v=ON54UuYBycc
Loading rollouts takes some creativity.
Sure you can use a vest, but eventually, when you’re wearing 2 or 3, they can get cumbersome and they’re a pain in the ass to take on and off between sets. I’ve found that using a heavy slam ball is a great way to continue challenging rollouts and it’s become my favorite variation.
Much like a lot of the other modifications, the overhead movement for the aging athlete can be problematic, so hammering bodysaws is my preference.
Locomotion
Carries are great, and there are a ton of variations on these, all of which are great. Farmer’s walks, suitcase carries, overhead walks, and the like all have their benefits, but I don’t think any of them quite give the same bang for the buck as heavy ass sled pushes.
There’s no eccentric component, so they’re great for people with knee issues, and give a huge single leg strength benefit. And since there’s no eccentric, they don’t need a ton of recovery, and can be used more frequently.
I’ve found that farmer’s walks, when done really heavy, can kind of fry people’s nervous systems more, so, while I use them frequently, if I had to choose, I’d go sleds.
Obviously, the issues that tend to limit our adult athletes are things that we want to address in our programming and improve upon, but we can still be safe and train hard given the circumstances, and not be relegated to endless hours of correctives and foo foo exercises.
Don’t stop challenging yourself or your clients, but keep them challenging in ways that make sense so they can keep excelling for many years to come.
About the Author
 Scott Hansen is a Bostonian transplanted in Southern California, a strength/fitness/wrestling coach, educator, sub par surfer, and die hard New England sports fan.


 You can learn all about 20+ loading types, providing YEARS of near infinite variety on the basics by picking up my free e-book,

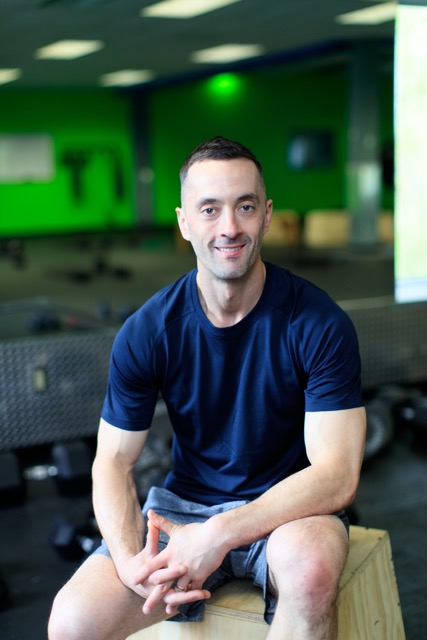 Matt Phelps is the owner and founder of Metabolic Meltdown, a fitness business with 6 locations in Upstate New York that specializes in Metabolic Training.