I’m in Europe for the next two weeks traveling.1
Fear not. I’ve still managed to queue up some stellar content for you in my absence.
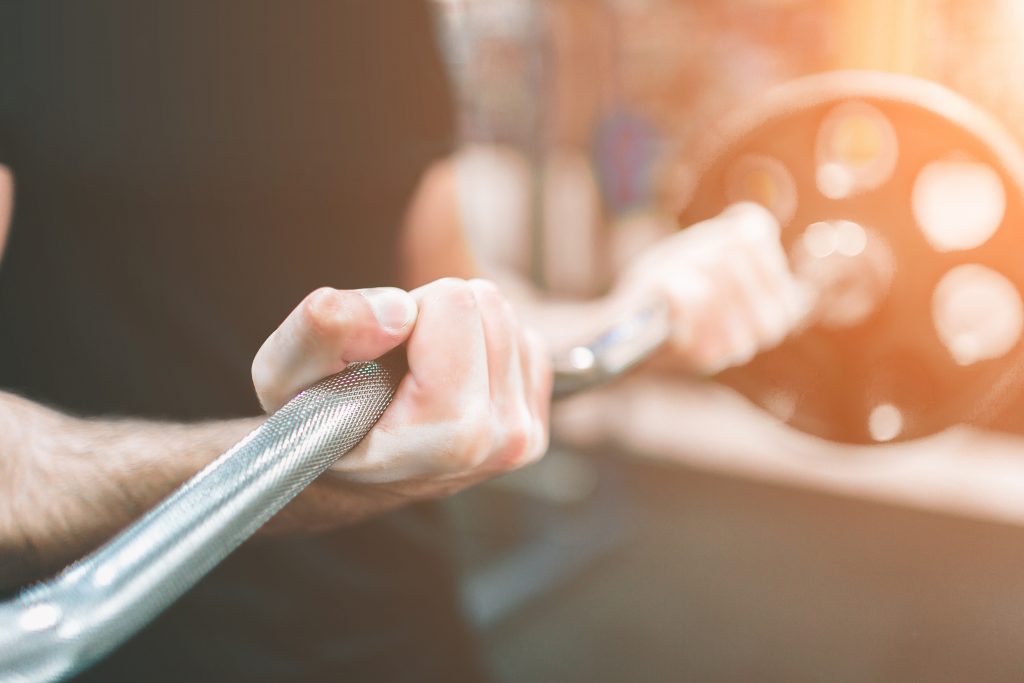
Today Dr. Sarah Duvall is pinch-writing for me talking about a topic that’s relevant to anyone who likes to lift heavy things: Squats (and how to make them feel better).
Her new resource, which she developed alongside fellow coaching superstars Kellie Hart and Meghan Callaway – Glutes, Core, and Pelvic Floor Workout System – is on sale starting today (6/28) and runs through 7/2.
It’s stellar and I think you should check it out.
Are You Engaging the Right Muscles When You Squat?
Several months ago Tony and I met at Caffe Nero to talk shop.
After a combined 30 + years of working with people, we have both come to the conclusion that strength is your friend!
It’s your friend for rehab, for life and for aging.
In other words,
“You need to lift shit to fix shit.”
It can get a little tricky, because I’ve often found for patients with tightness or pain that we have to first make sure the right muscle is doing the work before overloading.
A great example of this is doing squats but primarily loading quads and low back instead of balancing the lift with glutes and abdominals. Or doing deadlifts but primarily feeling them in your back, never your glutes or hamstrings.
So you’re lifting and trying to get stronger, but in reality if you’re experiencing the above you’re overworking a subset of muscles instead of the intended target.
That’s why you should always know what muscles you want to work and where you should feel it.
Educated lifting!
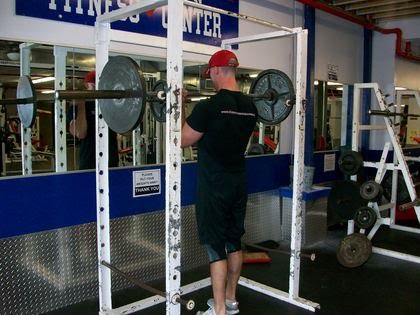
Let’s take a second to break down the ever-elusive squat a little further. There are so many varieties from goblet to back to front squats and everything in between.
You’ll want to pick a variety that feels best for you, but I’d like to share a couple tricks for squatting in a way that targets your glutes and abs. This will be especially helpful if you primarily feel squats in your quads and low back.
Let’s work from the ground up at 4 key areas of the body.
#1. Keep Your Toes Firmly on the Ground
Somewhere along the way the cue to lift the toes got popular.
This is an easy way to shift your weight back to help get the squat more into your hips instead of your knees.
When we make cues too easy they often miss the mark. It’s true that you want to sit back into your hips, but the body follows patterns and when you pick up your toes you set off a flexion chain in your body that can increase hip flexor activation and decrease abdominals.
Give it a try now.
Pick up your toes for a squat and focus on how much you feel your abdominals. Now, give me a nice short foot (big toe down, arch engaged, weight spread evenly between the ball and heel) and see if this grounded foot turns your abs on more.
Those hardwired neuro patterns are hard to break, and having great foot placement sets the tone for the rest of the body.
So how do you sit back instead of coming forward onto your knees? Try practicing your squat by sitting back to a box or chair.
This will help train the pattern without picking up your toes.
#2. Sit Into Your Glutes
You want to feel your glutes lengthening for your squat.
It’s not a deadlift, your knees will bend, but it shouldn’t be all knees.
Two signs you’re not lengthening and sitting into your glutes:
- You have to fold in half to sit back. (Now, if you have really long femurs or a narrow stance, you’ll need to lean forward a bit more. But if you widen your stance and you still find yourself bending over at the waist, it might be a good idea to check your rockbacks.)
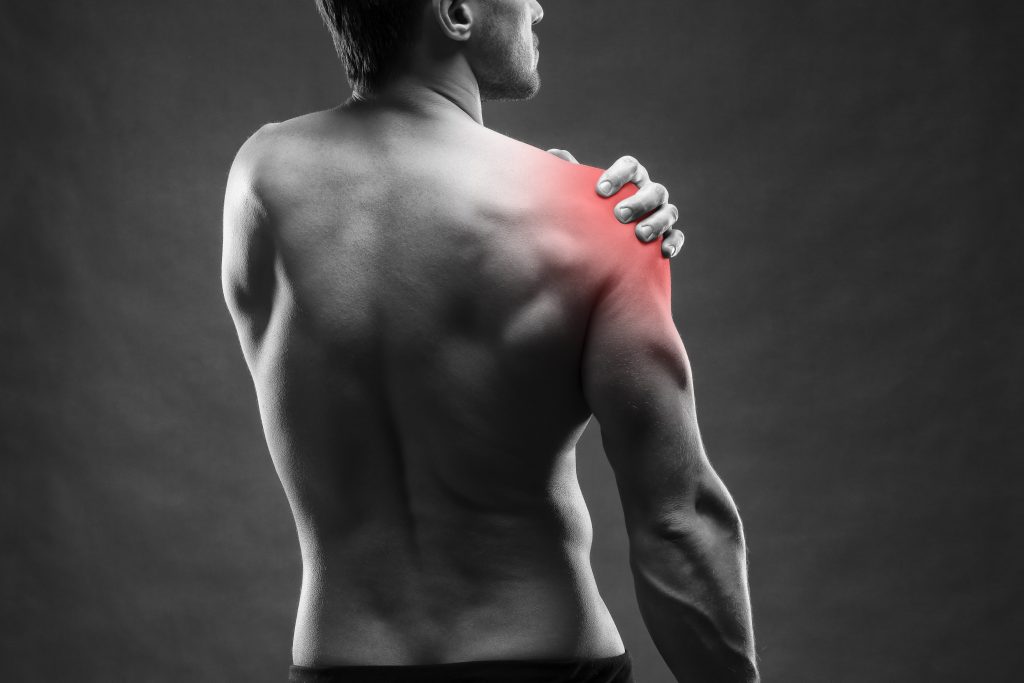
- You start with a neutral spine but then overarch your back to sit into the squat. Overarching the back and lengthening the hamstrings is a great way to look like you’re sitting back into your glutes when in reality you’re just going into a big anterior pelvic tilt. If this is the case, your low back will often feel tight after your squat.
To fix the folding in half, try holding on to something when you squat, like suspension straps. Then you can practice sitting back and down into those glutes.
#3. Neglecting to Keep a Neutral Spine
How we initiate a motion sets the tone for that exercise.
So if you arch your back to start, then your brain gets the signal, “this is a back exercise.” If you lengthen your glutes to start, then your brain gets the signal, “this is a glute exercise.”
Sitting the tone is important!
It’s much easier to do something right from the start than it is to play catch up. Wait, are we talking about life or squats?
See if you can spot the difference between initiating for the glutes lengthening vs the low back overarch?
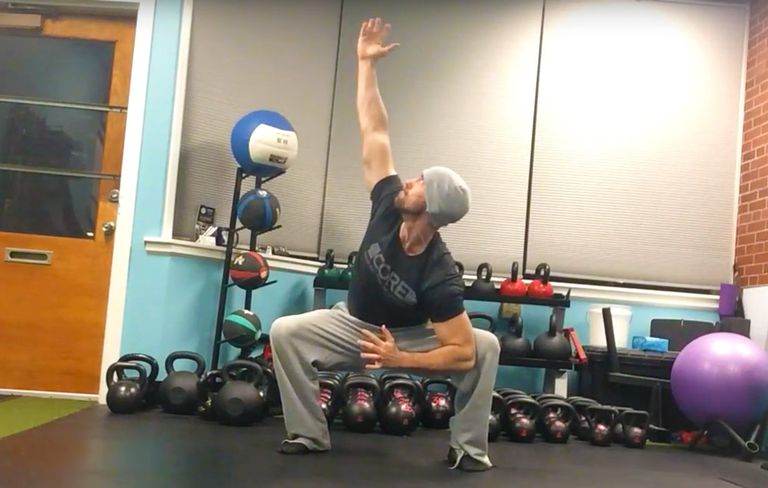
#4. Head Alignment
Let’s do a test.
Look up at the ceiling and squat.
Did you feel how you wanted to overarch your back?
Now, put your chin to your chest and squat.
See how you wanted to tuck your bottom?
Our body follows our head. You’ll never see a gymnast look the opposite way for a flip.
Playing around with head positioning and where the eyes are looking can dramatically change a squat. If someone is having lots of trouble keeping their abs engaged, I might have them look down just a pinch more. If they are really having trouble sitting into their glutes, I might have them look up a pinch.
The real takeaway from this is to know where you should feel an exercise and make sure that is what’s working. When you’re doing squats, you should feel both your glutes and quads working, as well as your abs and low back. A balanced squat works everything, and working everything means you’ll be able to do more and get stronger without getting hurt because the effort is shared.
Want to learn more about where you should be feeling an exercise and which muscles should be working?
You’re in luck!
Glutes, Core, and Pelvic Floor Workout System
Three expert coaches in the fitness and rehab industry came together to build an incredible 12 week workout program to help you reach your fitness goals.
Everyone – women AND men, powerlifters AND CrossFitters, Batman AND Care Bears – can spend more time developing their glute, core and pelvic floor strength and integrity.
Sarah, Kellie, and Megan are phenomenal coaches and have put in a ton of work to make this a resource that can equally help (and be applied) fitness professionals and general population alike.
Fitness Professionals: to be able to assess and write effective corrective and training programs to address things like pelvic floor dysfunction, rectus diastasis (which effects males too), incontinence, and many other “intricate” issues that aren’t easy to train around (much less talk about).
General Population: to show you the basics needed to feel great and to set yourself up for as much success as possible if or when you choose to attack the iron.
Batman (in case you’re reading this): to fight crime in a more efficient and timely manner.
This program is thorough AF and the beauty is that it requires minimal equipment and can be done at home or in a gym.
I’ve performed a few of the workouts & movements myself and lets just say its highlighted a few glaring weaknesses on my end. What’s more, I’m learning a lot. This WILL make me a better coach.
The price is heavily discounted – $200 OFF – for two days only (6/28 and 6/29).
- It increases $100 on June 30th – July 1st.
- And then increases to full price on Monday, July 2nd.
You don’t have much time to take advantage, so I encourage you to do NOW.

 Nicholas M. Licameli
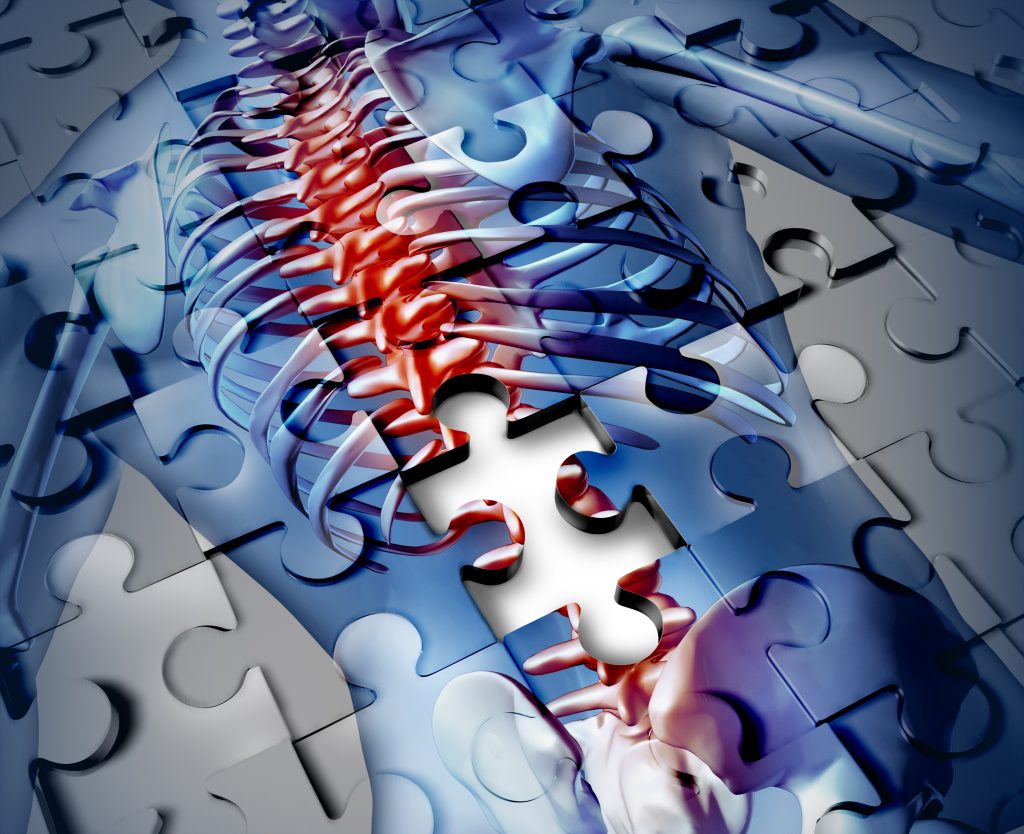
 After rupturing my L5-S1 disk over 7 years ago I was told that surgery and pain meds were my only option for a “pain-free” life.