Today’s guest post comes courtesy of Boston-based personal trainer and S&C coach, Matthew Ibrahim, who’s latest (online) resource, Forever Athlete, is available for purchase.
Matt’s a phenomenal coach and I always gravitate toward his content because it’s so accessible and realistic. If you’re at all interested in “holding on” to your athleticism give this article a read and definitely considering checking out Forever Athlete program.
4 Keys to Staying Athletic As You Get Older
What’s one common theme with every single person below?
- Female high school volleyball player with a 20” vertical jump
- Adult male being able to perform hurdle hops with pristine technique
- Middle-aged mom performing a heavy set of goblet squats
- NFL running back with a 118” broad jump
Although this sample list above demonstrates people within varying populations, they all represent examples of athleticism.
The point? All humans are athletes, regardless of age or ability level.
Not only can we remain athletic as we age, we should do everything in our power to push the athletic envelope as the years pass. Ultimately, age should never be something that holds you back from feeling and being athletic.
Everyone is an athlete and everyone has the right to train like one, too.
Let’s break down 4 keys to focus on for the purpose of staying athletic as you get older:
- Jumping and landing for power development
- Lifting heavy weights to improve strength and reduce the risk of injury
- Building muscle to feel good and look good
- Conditioning for heart health gains (even though you hate it)
- Beating a pack of ninjas in a street fight (BONUS added by Tony. Sorry, couldn’t resist)
You do these 4 things on a weekly basis and I promise that your path toward long-term athleticism will be that much easier for you.
Jumping & Landing for Power Development
I just turned 33 last month – and let me tell you – I’m no spring chicken anymore.
Does this mean I should give in, create a lifelong indentation on my couch, bury my head under the pillow and binge as many Netflix series as possible until the rest of season 4 from Ozark officially drops?
Of course not.
Although, Ozark is awesome. (Tell me Ruth isn’t THE most bad-ass character ever!)
Anyways, my focus should be on continuing to do the things that I love while being strategic in the process.
Part of that includes playing pick-up basketball, feeling athletic in the gym and sprinting (when the weather permits). Jumping and landing become super important for me in this area if my goal is to continue hooping, sprinting and feeling athletic.
Jumping comes in a variety of forms, positions, angles and planes of motion. The simplest way to understand jumping is to break it down into extensive plyometrics and intensive plyometrics.
Here’s an example of an extensive plyometric exercise:
You see how there’s fluidity and rhythm involved? That’s because extensive plyometrics helps you focus on coordination at lower intensities so that you can get the hang of it. Think of extensive plyometrics as keeping the training wheels on.
In the opposite light, you can think of intensive plyometrics as removing the training wheels and letting it rip at higher intensities. The goal here is to be as explosive and powerful as possible.
Here’s an example of an intensive plyometric exercise:
The exercise examples above aren’t as important as the intent behind them. Use extensive plyometrics in the beginning stages as you’re learning and getting the hang of jumping. Then, start incorporating intensive (explosive) plyometrics once you’re ready to take on more force.
Just remember, the more force you produce in jumping, the more force that you’ll need to control when getting back down to the ground. This takes me to my next point: landing.
Controlling your body is pivotal for staying athletic. A simple way to do this is to build the ability to land with body control and organization. Basically, you want to look like Michael Jordan (OK, maybe one-tenth of that) every time he would land after throwing down a monster dunk.
Body control? Check. Smooth and fluid? Check. Organized? Check.
Power development is also important for people as they age due to the positive impacts it has on the nervous system, coordination and overall function when it comes to physical activity.
Planning to join your local adult club soccer team? Interested in being able to play pick-up basketball in summer rec league on a weekly basis? Or, maybe you just want to be able to play tennis with your friends soon since the warm weather is around the corner?
Either way, developing and harnessing power through jumping and landing is a pivotal step toward staying powerful, explosive and athletic.
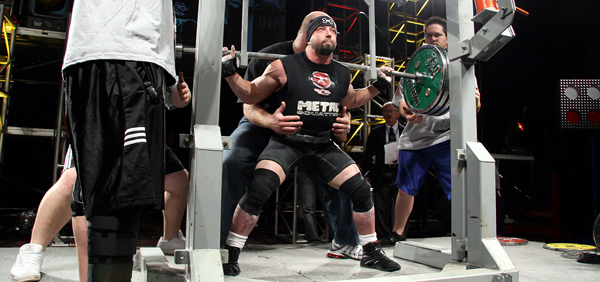
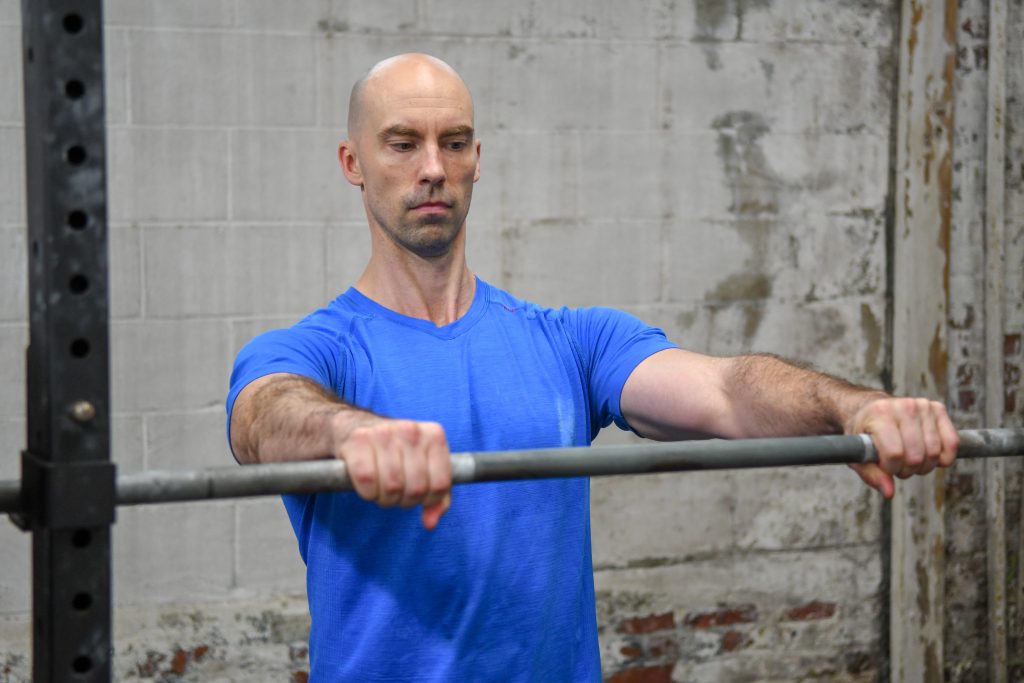
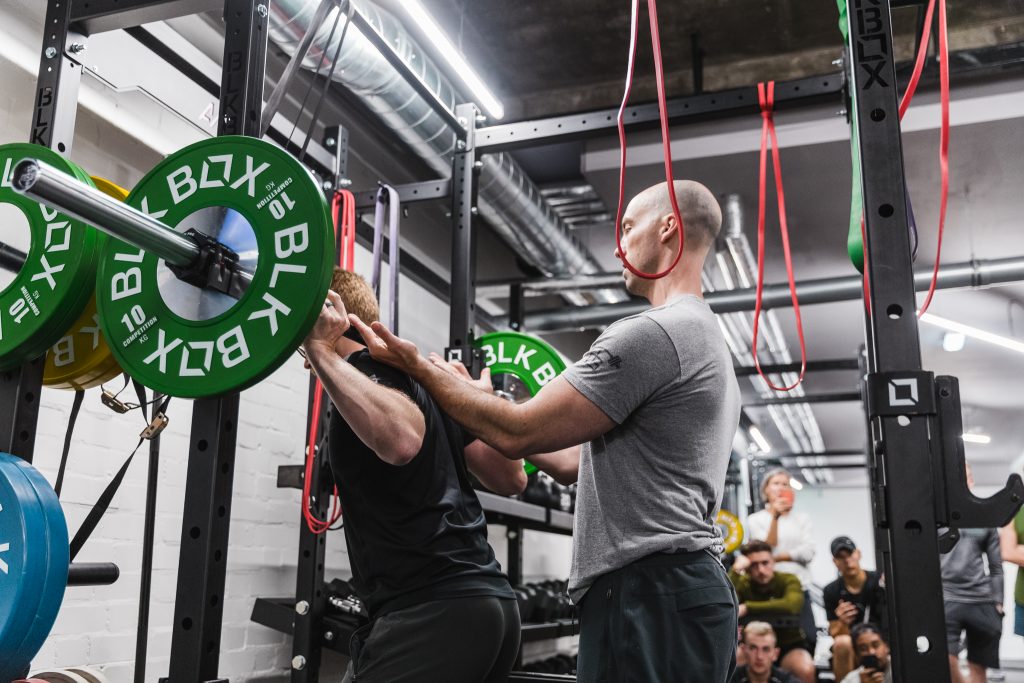
Lifting Heavy Weights for Strength Gains & Injury Risk Management
I think this is the easiest “sell” on this list.
Honestly, unless you’ve been hiding under a rock for the past 20 years or living somewhere underwater as you begin the evolutionary process of turning into a mermaid, it’s become quite clear both in practice and evidence that lifting heavy weights (safely) is a no-brainer for building strength.
Of course, we always need to mention the importance of using good form and technique especially when it comes to lifting heavy weights. That should also be a no-brainer.
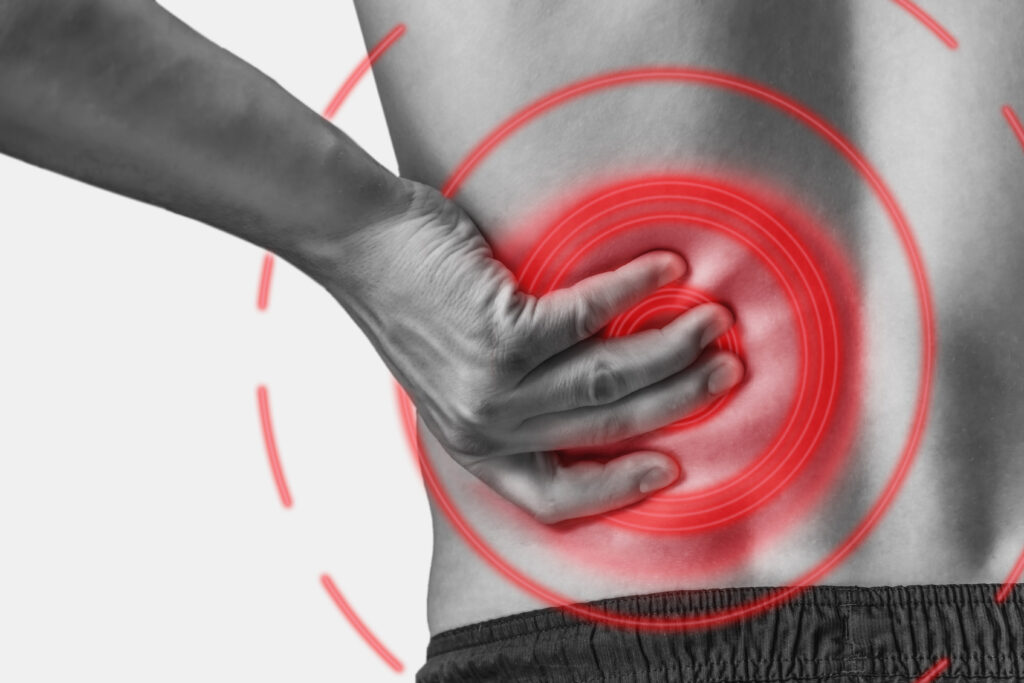
The other important part of lifting heavy weights, in addition to getting yolked (strong), is that you’re helping to reduce the risk of injury to your body.
How, you ask?
Well, every time you lift heavy weights, your entire body gets stronger. No, this doesn’t happen instantaneously like heating up a hot pocket in a microwave. It takes quality time to develop strength. On the shorter end of things, strength gains likely take a month or two to truly start seeing and feeling the gains. For more noticeable strength gains, it takes a year or two of hard work and consistency to really see things pay off strength wise.
When it comes to gaining strength, not only are your muscles becoming stronger, the rest of your body is as well. Muscular strength is important for the purpose of being able to produce more force, and in some cases, at faster speeds. Think about what we talked about in the previous section as it relates to power development. Pretty cool that strength and power go hand in hand, right? Science can be cool, sometimes.
More importantly, think about the importance of bone mineral density as we age. Think about having strong support structures in our body like joint strength, ligament strength and tendon strength. Remember: bones, ligaments and tendons all have an interplay (to some extent) with the muscles in our body.
Suffice to say that, when all is said and done, managing the risk of injuries becomes a heck of a lot easier when you’re stronger. Lifting heavy weights, relatively speaking, is also never a bad idea if your plan is to stay as athletic as possible as you age.
Building Muscle to Feel Good & Look Good
Arm farm is soon to be a national holiday. I swear, it’ll be on all calendars at some point soon.
Until then, why can’t we give in and just be more open about wanting to build muscle to feel good and look good?
Oh, so you’re not trying to build a sweet pair of biceps to flash at the beach this summer? So, what you’re saying is that, even though you just ripped off 50 reps of tricep extensions, that arm training isn’t important to you?
Sure, keep telling yourself that.
Or, let’s just all be cool about it. Look, I like building muscle, feeling good about how I look and chasing a pump just as much as anyone else. Admittedly, my calf muscles are often the target for when I’m trying to chase a pump, but that’s neither here nor there.
The point is that building muscle is actually a great thing if your goal is to stay athletic as you get older. Think of muscle as your body armor. This ultimately coincides with what we just talked about in the previous section.
(Side note: have you noticed a trend so far with how each section piggy-backs off of the previous one? Go figure.)
Lean body mass (LBM), otherwise known as muscle tissue, is a great thing to develop in the human body. Not only does having more muscle help you from a body composition standpoint, it also enables you with the ability to develop power and strength with more ease.
Building muscle and being athletic can both exist together in your weekly training. Looking good, feeling good about how you look and performing well are all achievable qualities with the right approach.
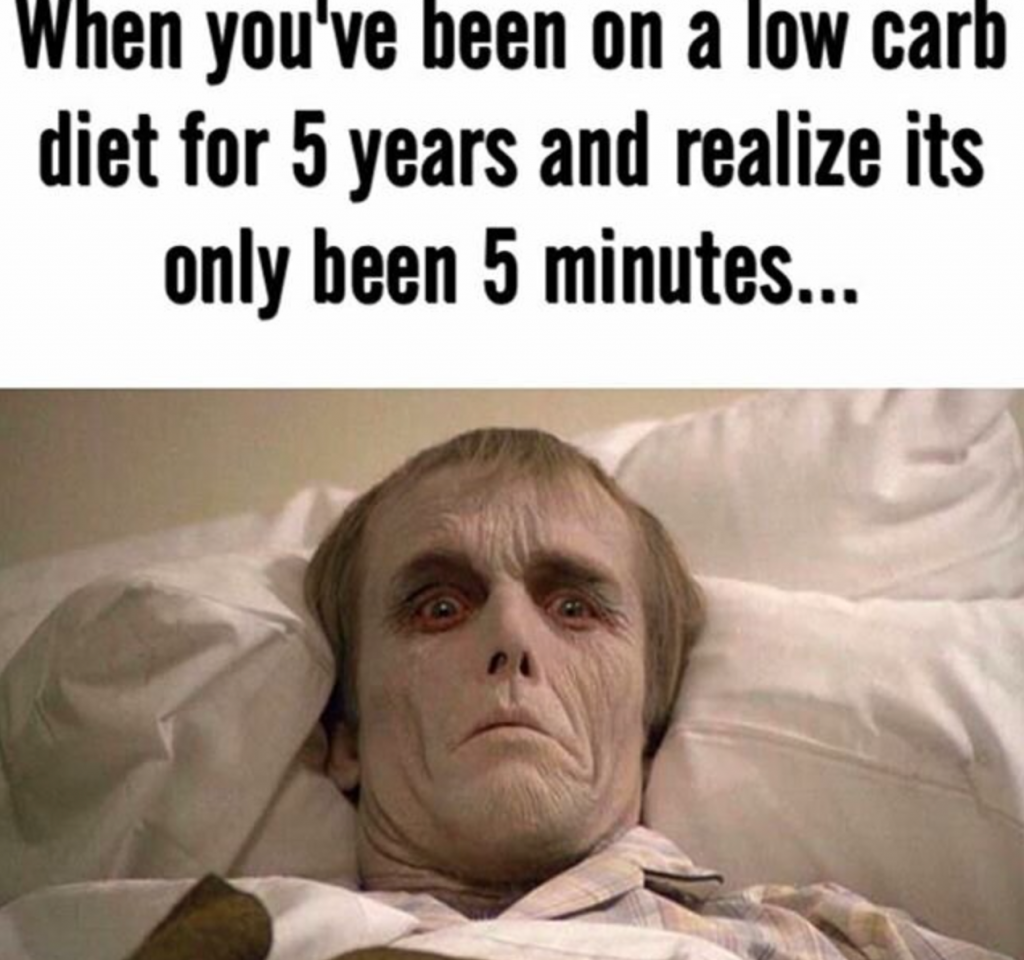
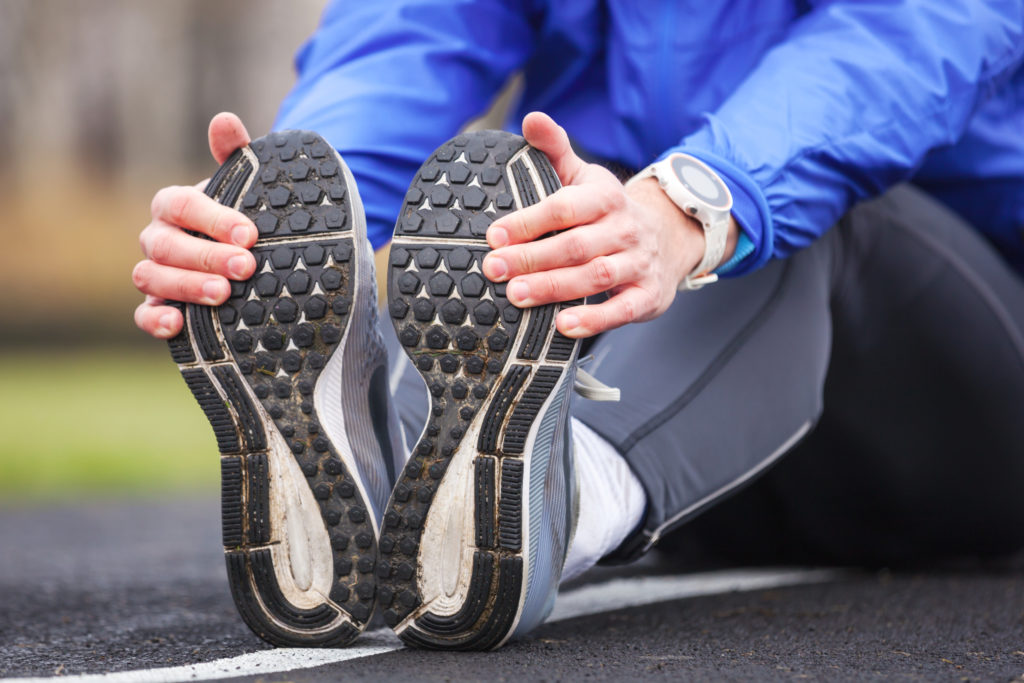
Conditioning for Heart Health Gains (Even Though You Hate It)
OK, OK. I get it. Nobody likes doing cardio or conditioning.
But, everyone wants to jump right into playing rec league sports, pick-up basketball games and flag football, right?
Stop for a moment and think about that.
(Crickets.)
Yup, exactly what I thought.

Doing the first thing makes doing the second thing much easier.
I’m not saying that you need to spend countless hours on the treadmill trying to morph into a hamster wheel. Nope, not at all. Instead, incorporate anaerobic (high intensity) conditioning intervals and aerobic (low intensity) conditioning intervals on a weekly basis.
Let’s simplify even more by having you consider adding in the following each week:
- Anaerobic example = 1-2 days each week of sprints: keep the distance (15-20 yards) and volume (6-8 reps) short while the intensity (85-90% effort) and rest periods (60-90 seconds) are high.
- Aerobic example = 1-2 days each week of tempo running: now, focus on longer distances (1 lap around the track) at lower intensities (70-75% effort) with a recovery walking lap in between and a higher total volume of work (1.5-2 miles).

These are simply a couple of examples you could use, but quite frankly, the options are endless. You could easily do sprint intervals on the bike instead for your anaerobic conditioning and 30-minute weight vest walking for your aerobic conditioning.
The primary goal is to hit some high intensity and some low intensity conditioning on a weekly basis. Think of high intensity conditioning as building your ability to be powerful for short periods of time and low intensity conditioning as building your ability to last for a long duration of time with more of a sustained output.
When performed together consistently, this type of weekly conditioning routine gets you fit enough to play all the pick-up games and rec league sports you want without ever batting an eye or stopping to consider whether or not you feel conditioned enough to play. Cardiovascular endurance and stamina are real game-changers and they’re super important in the process of maintaining your athleticism as you get older.
The best part is that being well-conditioned also positively impacts your ability to build strength, power and muscle. Overall, athleticism leans heavily on these 4 physical qualities.
Closing
Let’s face it: we all want to stay athletic and powerful as we get older. We all want to stay strong, durable and muscular, too. And, even if we hate to admit it, we know that conditioning is key for staying fit and healthy. Unlock your true athletic potential by focusing on these 4 key areas for staying athletic as you get older.
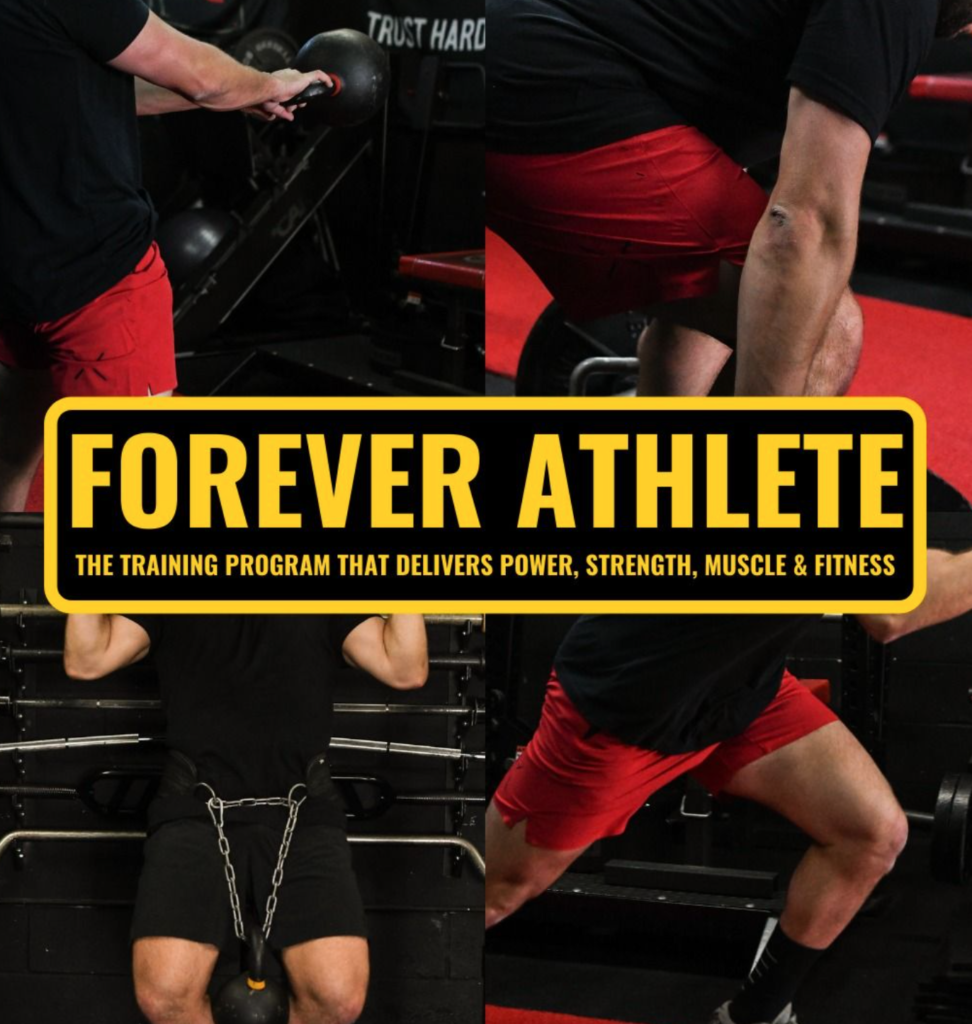
My online training program – Forever Athlete – places a strong emphasis on these 4 areas so that you can remove the guesswork and become the most athletic version of yourself.
About the Author
Matthew Ibrahim has been a Strength & Conditioning Coach since 2007 while working with athletes looking to build strength, improve performance and maintain healthy lifestyles. He is also a College Professor of Exercise Science and a Ph.D. student in Human & Sport Performance.
As a public speaker, Matthew has presented at EXOS inside Google Headquarters, Sports Academy (formerly Mamba Sports Academy), Perform Better, Equinox, Stanford University and for the National Strength & Conditioning Association (NSCA) on several occasions. His work has been featured in Men’s Health, Men’s Journal, T-Nation, Science for Sport, StrengthCoach.com, Exxentric, TrueCoach and TrainHeroic.
Connect with him on Instagram – HERE