NOTE FROM TG: It’s Christmas. So, I’m out. But, I figured this would be an opportune time to repurpose some old content.
1) If you didn’t read this the first time I posted it all I have to say is “pfffffft, whatever.”
2) If you did, you’re cool. And, share it……;o)
Understandably, the title of this post suggests some nefarious agenda where my goal is to spend the next few minutes explaining why we’ve had it all wrong the entire time.
“You mean to tell us, Tony, there’s a chance compound movements don’t make people stronger?”
“What’s next: telling us water isn’t wet, the Earth isn’t round, you’ve been busting our balls the entire time and kipping pull-ups are, in fact, one of your favorite exercises?”
Relax. Deep breaths.
Just so people don’t think I’ve lost my marbles or are already tapping away on their keyboard drafting their hate mail before actually reading what I have to say below….the short answer to the title of this post is:
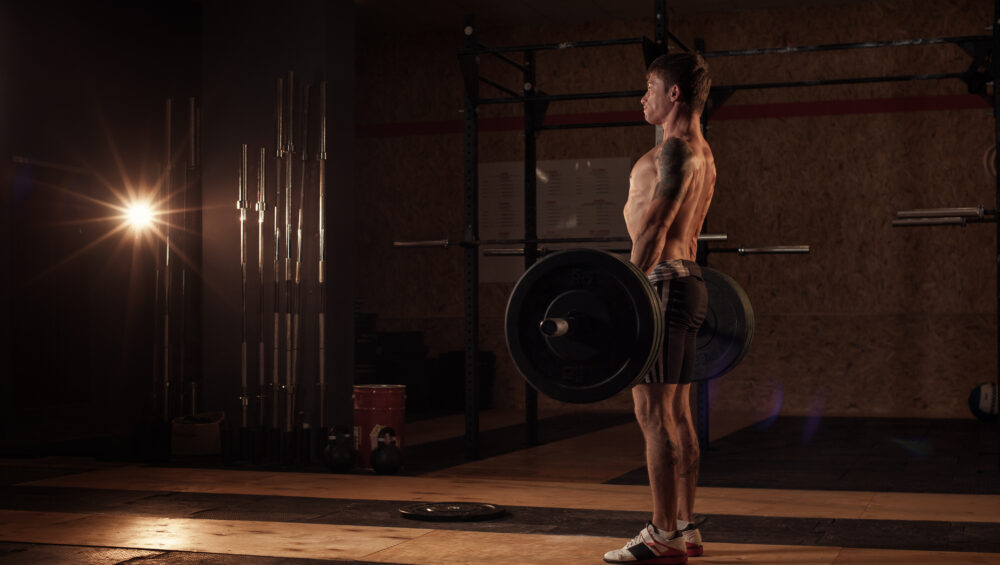
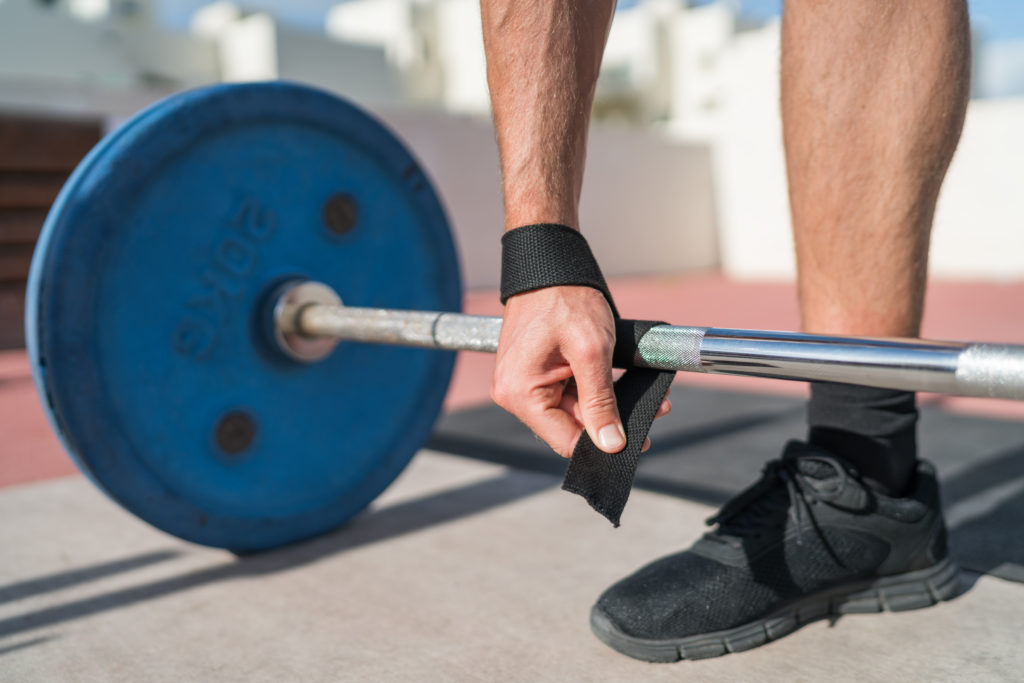
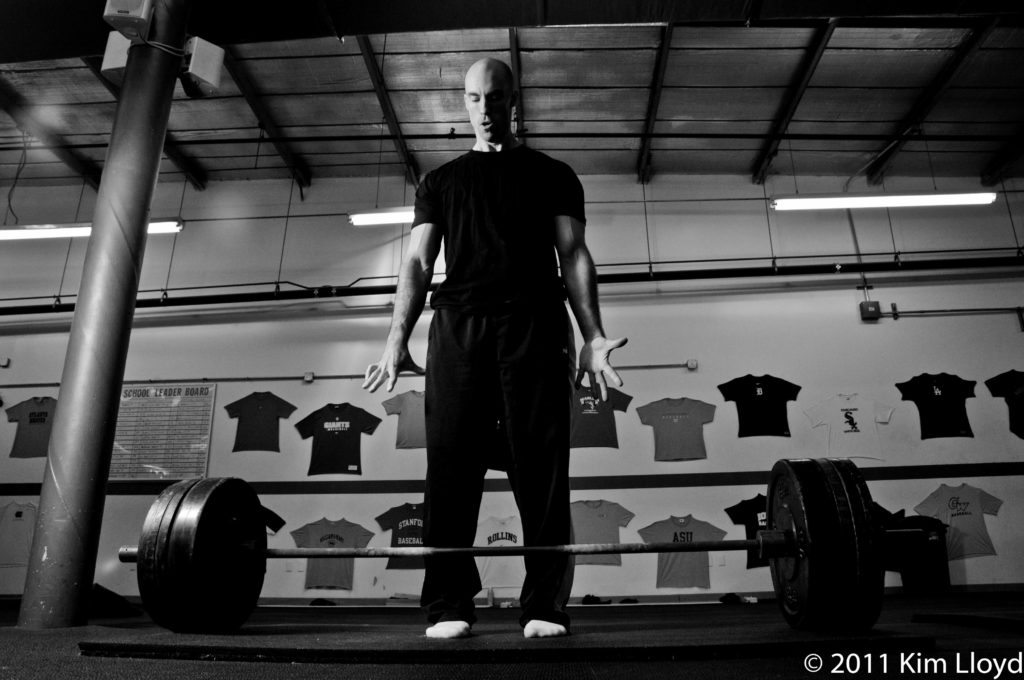
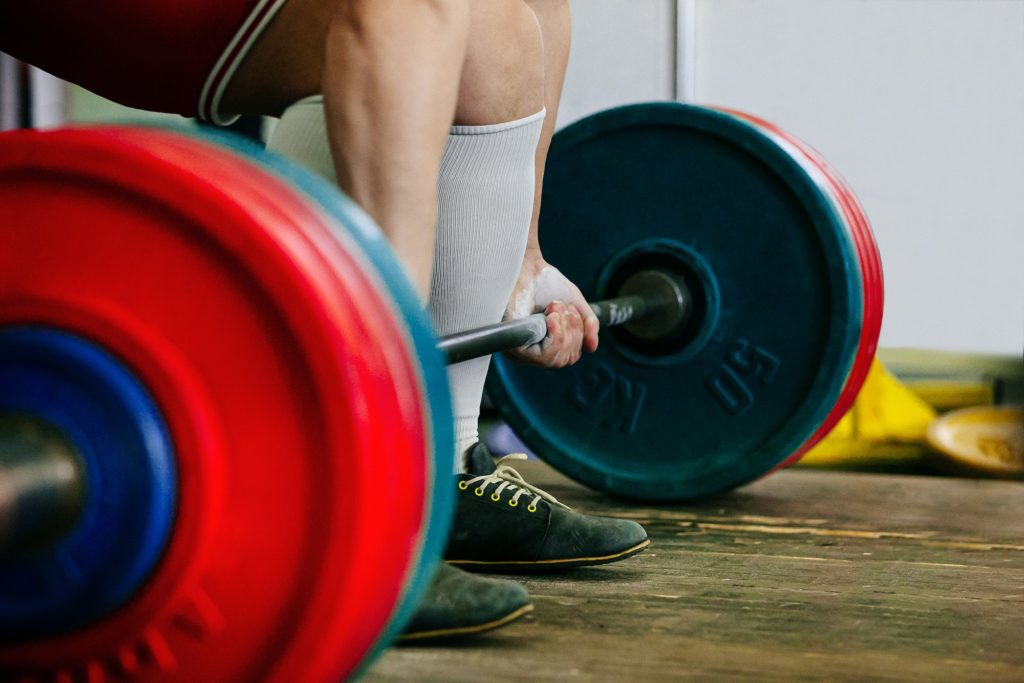
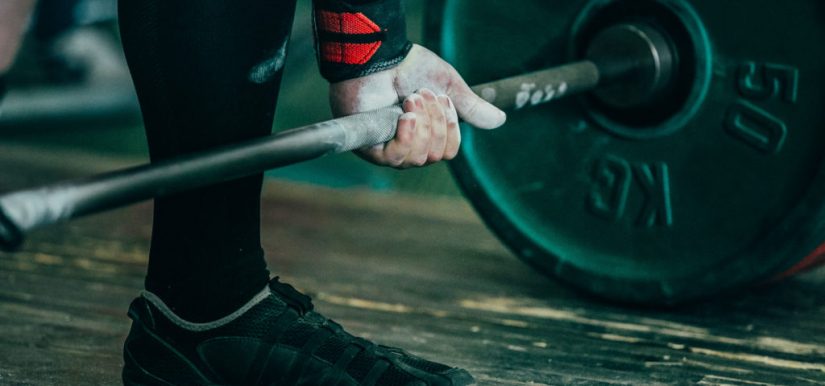
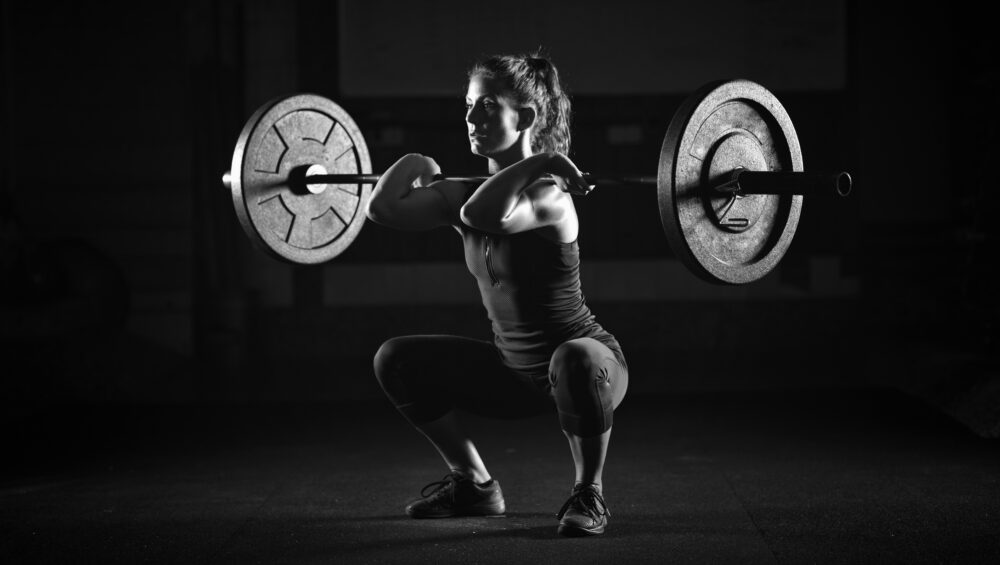
“Yes, I do feel compound (multi-joint) movements – think: deadlift, squat, bench press, rows, overhead pressing – make people into beasts, and should lay the foundation for any well-rounded strength training program.”
However, I fear many trainees (and coaches) often fall into the same trap where we’re programmed into thinking compound movements, and only compound movements, should be utilized 100% of the time…no exceptions.
A thousand years of no gainz and incessant internet trolling to the person caught using the leg curl machine or, the horror, performs a few sets of tricep kickbacks.
Shut Up
No, really…shut up.
Of COURSE compound movements make you strong(er). If you want to get strong, it only makes sense to perform those movements which will allow you to use the most weight and force the body into a state of adaptation to get strong.
Granted a lot of other things need to fall into place in order for “strong” to happen. Just because you place a barbell on your back and meander up and down doesn’t mean you’re the second coming of Ed Coan.
Technique, frequency of training, addressing weaknesses, technique, and technique consistent progressive overload all need to be taken into consideration.
What’s more, if strength is the goal – particularly with the big 3 – compound/multi-joint movements performed in low(er) rep ranges (1-5) is kind of important.
Why?
Cliff Notes Version: Lifting maximal weight has a number of effects:
1. Maximal number of motor units are recruited.
2. Fastest MU’s are activated (high-threshold motor units).
3. The discharge frequency (rate coding) is increased.
4. Activity is synchronous – both inter and intra-muscularly.
5. Potential for future hypertrophy gains (especially when you revert back to a “hypertrophy” specific training phase).
6. While some argue whether or not the research is efficacious – it goes both ways – lifting heavy things helps to increase serum Testosterone levels.
7. Girls will want to hang out with you (<=== it’s science).
But It’s Not All PRs and Butterfly Kisses
While all the above is true, focusing solely on compound movements (and lifting maximal weight all the time) does have its pitfalls.
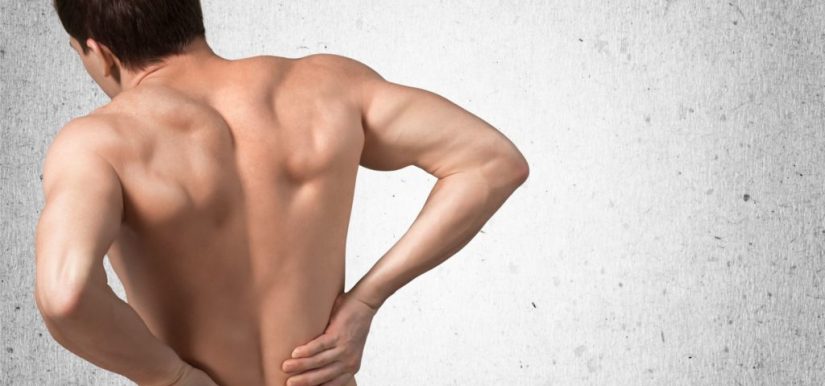
1). There’s an inherent likelihood of increased wear and tear on the joints over time (Yes, even with “good” technique).
2). Compound movements = produce/accumulate more fatigue (particularly neural fatigue). And if it’s not managed appropriately, one may see a decrease in strength/performance over time.
And finally, something not many people consider:
3). We’re Really Good at Compensating.
You may have noticed that I drilled the idea of “technique” earlier. It’s that important.
As a coach I find many people are unable to express their true fitness/strength level due to faulty joint positions (misalignment, such as excessive lumbar extension/APT), and, honestly, not “earning the right” to increase load.
I.e., they haven’t performed enough reps at “x” weight in order to go up.
To that end, drilling technique – and respecting each individual’s anthropometry – is always going to be of paramount importance.
Due to our ability to compensate well, the likelihood you’re leaving poundages in the tank are very high.
As well, when we start talking accessory movements, I’m always in the camp which takes the approach they should generally be used to address some form of technique flaw or weakness with the main lift in question.
For Example
If someone is struggling with their deadlifts off the floor – meaning, they’re super slow – some viable accessory movements to address this would be:
1). Limiting tap-n-go reps (bouncing off the floor).
2). Deficit pulls (2-3″ elevated) to generate more quadricep recruitment.
3). More squat variations such as Safety Squat Bar squats and front squats (again, to generate more quadricep recruitment).
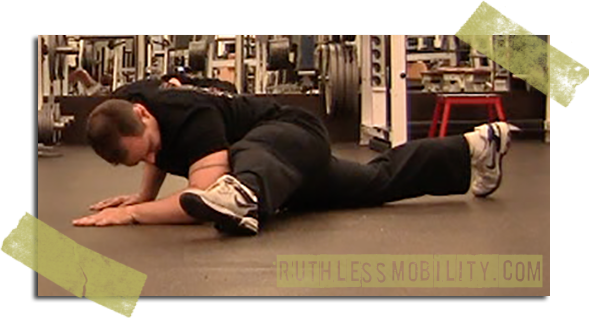
4). Anderson Squat – performed from a deadstart, emulating one’s deadlift stance.
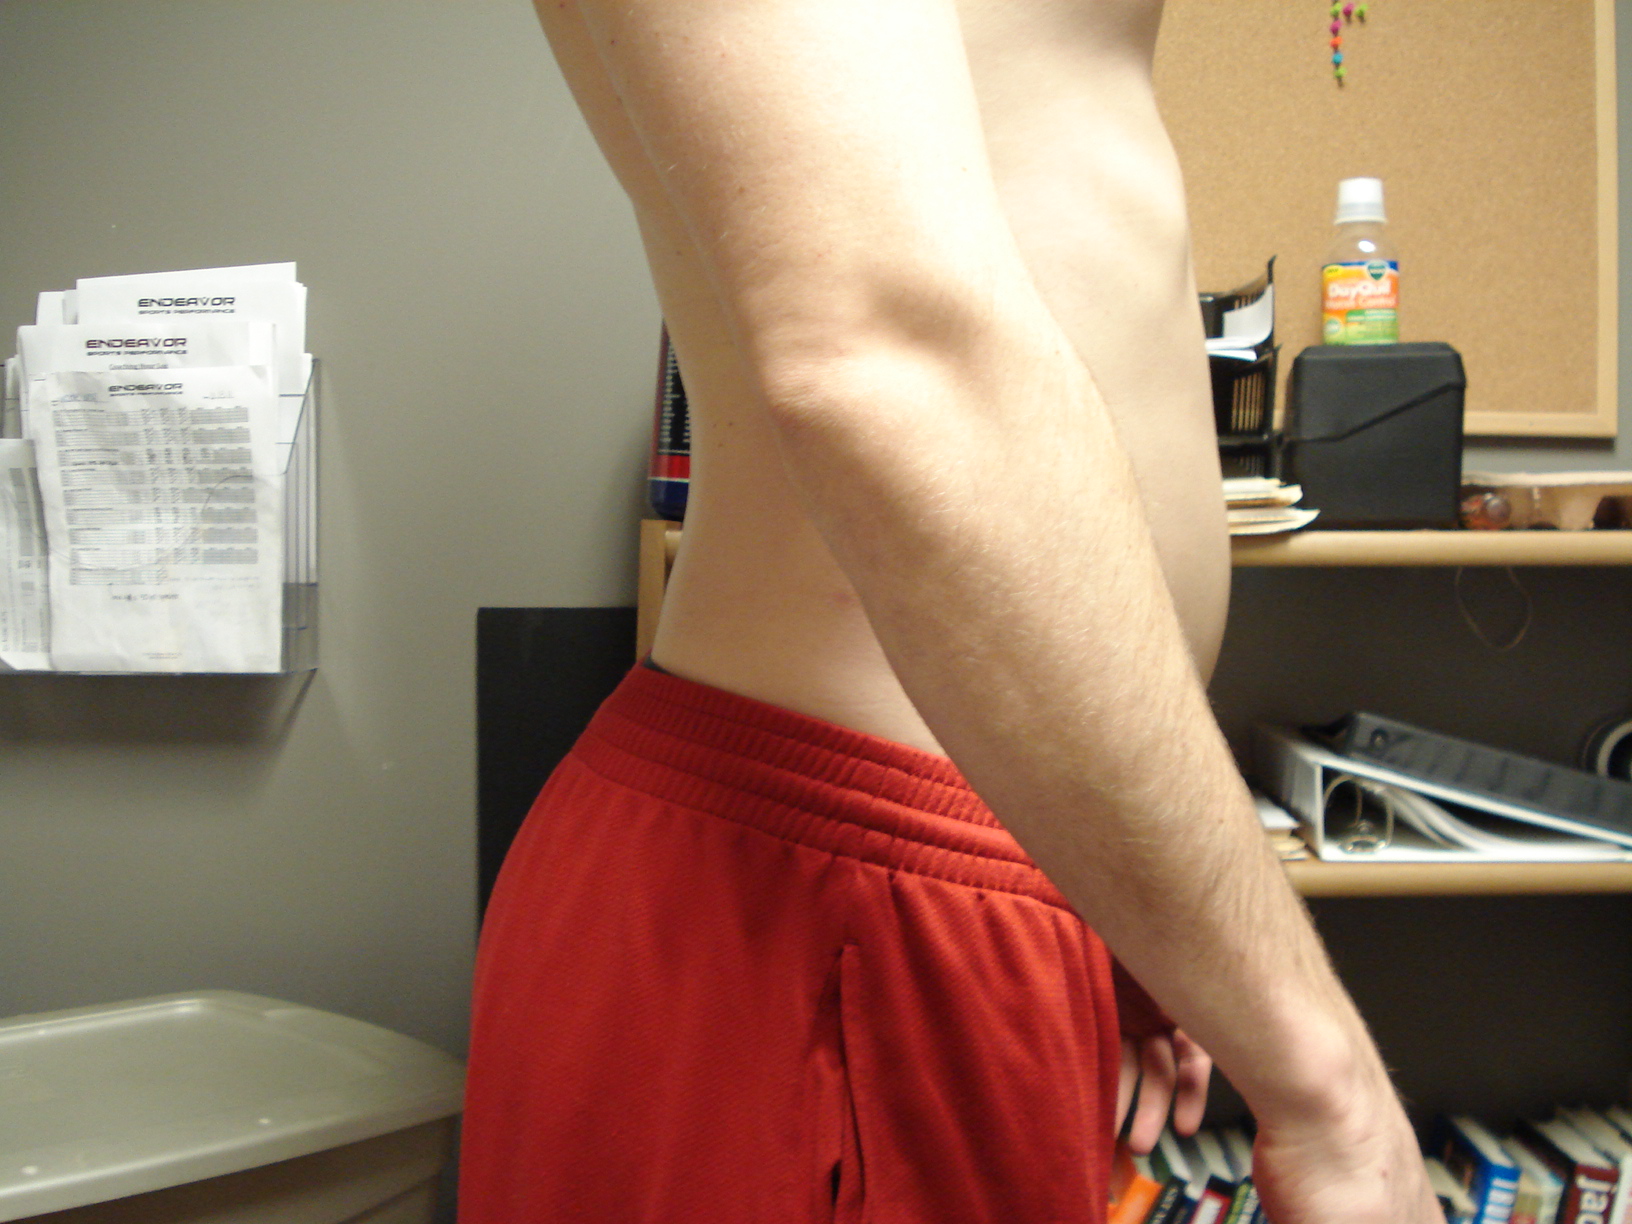
Note: Notice my hip placement above. When I was pulling conventional style (the video is four years old) this variation of Anderson squat very much mirrored my deadlift stance, which carried over well.
Back To My Point
Oh yeah, my point.
Listen, it’s okay to perform isolation work or more bodybuilding-specific exercises. A more “hybrid” approach – strength and hypertrophy – is going to bode well for most people anyways.
Case in point: my bench press sucks. There are days where I’d rather wash my face with broken glass than bench press.
One of the things my coach has been implementing into my programs of late is more isolation work to address muscular issues.
Think about it: expressing strength is (mostly) about generating force. Hoisting big weights helps in this regard. However, a bigger muscle – almost always – is going to produce more force than a smaller one.
Indeed, I’ve been hammering away at my bench press technique – even implementing accessory movements like paused bench presses and Spoto Presses to address my weaknesses.
But guess what? Lately – for the past two blocks of training – I’ve been performing a TON of dumbbell chest flyes. You know, those “wimpy” things guys use to train their chest cleavage.
I feel so dirty admitting it.1
Funnily enough my bench press has seen it’s best jump in a while since incorporating more isolation type work for the pecs and triceps.
Too, my DL has gone up since tossing in some leg extensions; and I have to assume the chest flyes play a role too…;o)
Read: It’s not only about compound movements. Don’t be so dogmatic.
True, they serve as the staple for any strength-based program…but try not to neglect the importance of choosing the correct accessory work – even if it’s isolation exercises – to compliment your goals.
The internet will forgive you.