If you work with high-school athletes this is for you.
Friend and colleague, Mike Anderson, who’s a strength coach in Ohio, reached out and asked if I’d be open to sharing a roundtable discussion of several coaches discussing the rigamarole of working with this population.
I always enjoy other coaches riffing and pontificating on this subject and I think there are many perils of wisdom below.
Enjoy!
Two Things They Should Know
One of the most important populations for strength and conditioning / fitness right now is the high school aged athlete.
Training has become so common amongst this age group that if you even think that you might want to compete at the next level then you need to be in a gym. I myself train a metric shit-ton of high school athletes and it’d be an understatement to say that this population has some unique traits and attributes.
As a strength coach, it’s sometimes easy to forget that not everybody knows the same things you do. I occasionally take some information for granted and am surprised when the kids or their parents don’t know it.
Some recent interactions I had with athletes spurned the writing of this post and I thought it would be really interesting to get some points of view from friends of mine in the industry around the country regarding the two things that they, as coaches, wished that both high school athletes and their parents would really understand about training.
Jarrod Dyke – Owner / Coach, First XV Performance, Brookline MA.
1. Every athlete that walks into a weight room or training facility needs to remember this: you are there to help you get better at your sport, not to set the world record in powerlifting or weight lifting (unless those are your sports). Check your ego at the door.
If your squat doesn’t jump 100 pounds in 3 weeks, it’s not the end of the world.
Put in the work and the weight will go up! You will get stronger and be much stronger on the pitch, field, court, ice, track etc. Just because you tick the room temperature up from 29 degrees to 30 and the ice isn’t melted yet doesn’t mean you aren’t making progress, be patient!
2. In season training is a big must if you want to last throughout the season.
It is very possible to maintain your strength or even gain strength, depending on the circumstance, throughout your sport season.
Not training at all is probably the worst thing you can do; your practices and game aren’t enough to maintain the strength you just put all the work into building up. Then when the off-season comes you are not starting all the way back at square one, but rather you’re still better than you were at the start of the last off-season.
Hilary Lederer – Strength Coach, Force of Nature Strength & Conditiong, Toronto, Canada.
 1. The first thing I’d want parents and athletes to understand about strength training is that it doesn’t need to be (and almost always shouldn’t be) something that completely exhausts the athlete. A ton of productive work can be accomplished while still feeling pretty fresh after.
2. The second thing is how valuable a solid coach and program can be for every athlete. You can be talented and successful without, but those athletes tend to be less common and rarely last long.
Injury prevention, weak points, confidence, etc. will all be positively affected in the short and long term, plus you are setting the athlete up for lifelong good habits relating to health and fitness.
Mitch Gill – Head Athletic Trainer at Dacula High School, Private S&C in Dacula, Georgia
1. “Sports specific” training is just practice; it is not the weight room. Strength and conditioning is about building the qualities such as strength and speed to increase the robustness of the athlete’s skills. The goal in the weight room is to create a better all-around athlete who is able to express that athleticism on the field.
2. Athletic development is a long term process; or as I like to call it, “slow cooking the athlete.”
We live in a microwave society that wants to see results right away.
They want their squat to go up 80 lbs in a month or their 40 time to drop half a second in that same time. For long term success, let nature and time in training take its course.
No one cares if the kid is the best 14 year old in their county at their sport if he/she has already peaked or is always hurt.
Brandon Strausser – Performance Coach, Spire Performance, Geneva Ohio.
 1. The idea of “Sport Specific training” is a hoax – Athletes and parents need to understand that our jobs as strength and conditioning coaches is to make better athletes (through strength, speed, and power gains along with injury reduction protocols).
The training program that the athletes receive will be very similar to one another (in regards to the movements and speed development). The only thing different will be how they apply their training program into their sport (ex: A swimmer and a baseball player will both squat to develop stronger and more powerful legs.
For the swimmer it’s to have a better start and turns off the walls. For the baseball player, it’s to have a stronger swing and faster sprint to the bases). Leave the specificity to the actually sport coaches who know and understand the sport like the back of their hands.
2. Be patient with your training – Understand that good things take some time to develop.
You actually have to work your tail off to get results.
Some people adapt quicker than others and see improvements much sooner than their counter parts. But that’s the beauty of us being human; we’re all different and react to stimulus and stress differently. This might sound like another point but it goes right along with being patient and that is staying consistent with your training and who you are training with.
Be organized with your training and have a set schedule of when you’re doing it (certain circumstances I understand will pop up but try to stay as close as you can to your schedule). The number of training sessions per week will alter how fast or slow your results will be.
You see that your vertical hasn’t improved in two weeks. Well maybe it’s because you’ve only had a total of four training sessions in those two weeks.
Lastly, jumping from coach to coach will break up and stunt your progress because each coach has a different approach to their training. Your body will not be able to adapt if you are constantly changing the training stimulus with a new program from a new coach each month or even week. The moral of this spiel is that good things will come to those who wait!
Greg Robins – Co-Owner / Coach, The Strength House, Worcester MA.
1. I need you to understand what it is you want to gain from training with us.
Can some of this be coached? Yes, probably.
However, if you don’t have a clear picture of what you hope to gain from training you will not achieve much of anything in the end. While I can explain what training can do for you, it is not the same as YOU knowing what you want to gain from training.
As parents, you need to understand that from the same level as I do as the coach. You telling your kids what they should get from training is not the same as them expressing what they want to get from training. It has to come from within them…what is it that they want to achieve?
2. I need you to understand WHY achieving that is important to you.
I mean really break it down on every damn level. Why, why, why, why, why?
Why do you want to get stronger? To play on varsity. Why do you want to play varsity…oh snap…now that’s where the ball is usually dropped. Guess what? You’re 16. Your child is 16. Why do you want to play varsity?
Don’t give me the lip service of you want to be the best you can be unless that is really true. Maybe you want to elevate your social status. Maybe you want to be like someone you look up to. Maybe you think it will help you get a date with that girl on the softball team you like. Why you want it is the most important thing you need to understand about training.
WHY ARE YOU HERE?
You are going to be pulled in 6 directions at that age…you will continually have other things you could do. If you understand WHY you are training, and have therefore decided that that “why” is the most important thing to you then you will get it done. Whether or not you’re training with me, whether you’re on the best program or worst program. The kids that know their why and who are supported by parents that know their WHY will succeed.
Mike Anderson – Owner / Coach, Anderson Strength & Fitness, Cleveland Ohio.
 1. The real impetus behind this discussion, for me, was that I really want athletes and their parents to understand that getting ready for a particular season takes more than two weeks.
I recently had two different kids reach out to me ready to “get jacked” and “crush shit before season” only to realize that one of them had three weeks to go and the other one was actually in the middle of try-outs.
There is very little I can legitimately do for you in that time frame. If you really want to explore how much you can develop athletically then it needs to be a year round part of your life.
2. The other thing that I’d really want to impress upon both athletes and their parents is that you will directly get back what you put into your training.
If you consistently show up to Saturday morning training after a seven hour Fortnite binge ending with three hours of sleep and no breakfast, then you’re going to have a really shitty training session.
If we are fueling our young athletes with Pop Tarts and Captain Crunch then we should be expecting their development to be reflective of that. Sophomores in high school are rarely in charge of their own nutrition, and thus parents really need to be aware of providing the right things for their kids to make good choices with.
I hope that this was ultimately helpful in some way, and if you found it to be so then please share it so that other athletes and/or their parents can benefit! If you’re in the same area as any of the coaches on this panel please don’t hesitate to find them on social media and get your young athlete in the gym and working!


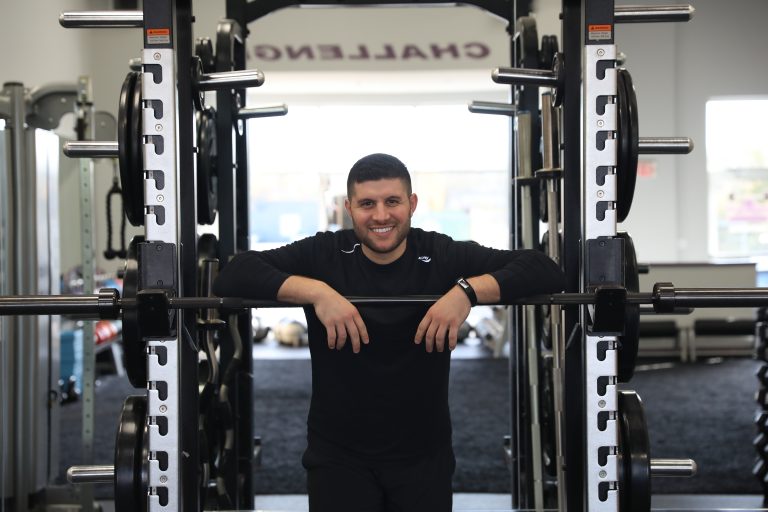 Matthew Ibrahim is the Co-Owner & Lead Performance Coach of TD Athletes Edge in Salem, MA. He has been an invited guest speaker nationally in over 10 U.S. states, which was highlighted by his presentations at Google Headquarters and Stanford University, in addition to guest speaking internationally in Milan, Italy.


 Matthew Ibrahim is the Co-Owner & Lead Performance Coach of TD Athletes Edge in Salem, MA.